As an art history major I was thinking of developing some field tools...I started ambitious with innovating an intelligent archeological toolkit, and soon scales down to an equally practical color picker.
 Introducing the ColorPick Flashlight
—the flashlight that's too cool to emit light like the usual ones!
Instead, it extracts colors from the world around you,
making it the ultimate tool for designers, artists, and anyone who's ever argued over whether it's “teal” or “cyan.”
Graphic designers can swipe shades straight from sunsets, artwork restorers can restore Rohtko to its original state by colorpicking from surface,
and rainbow chasers can bottle up their favorite hues in seconds.
Compact, clever, and connected, it translates colors into RGB, HEX, and CMYK faster than you can say, “What color is that?”
High five to capturing the real spectrum of life!
Colorpick Flashlight, your pick for colorful life.
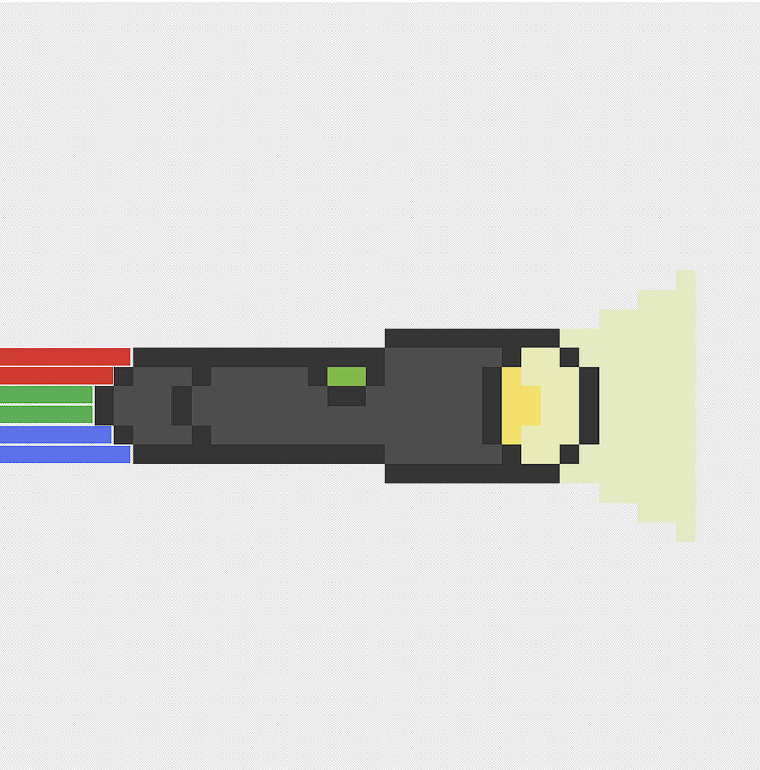
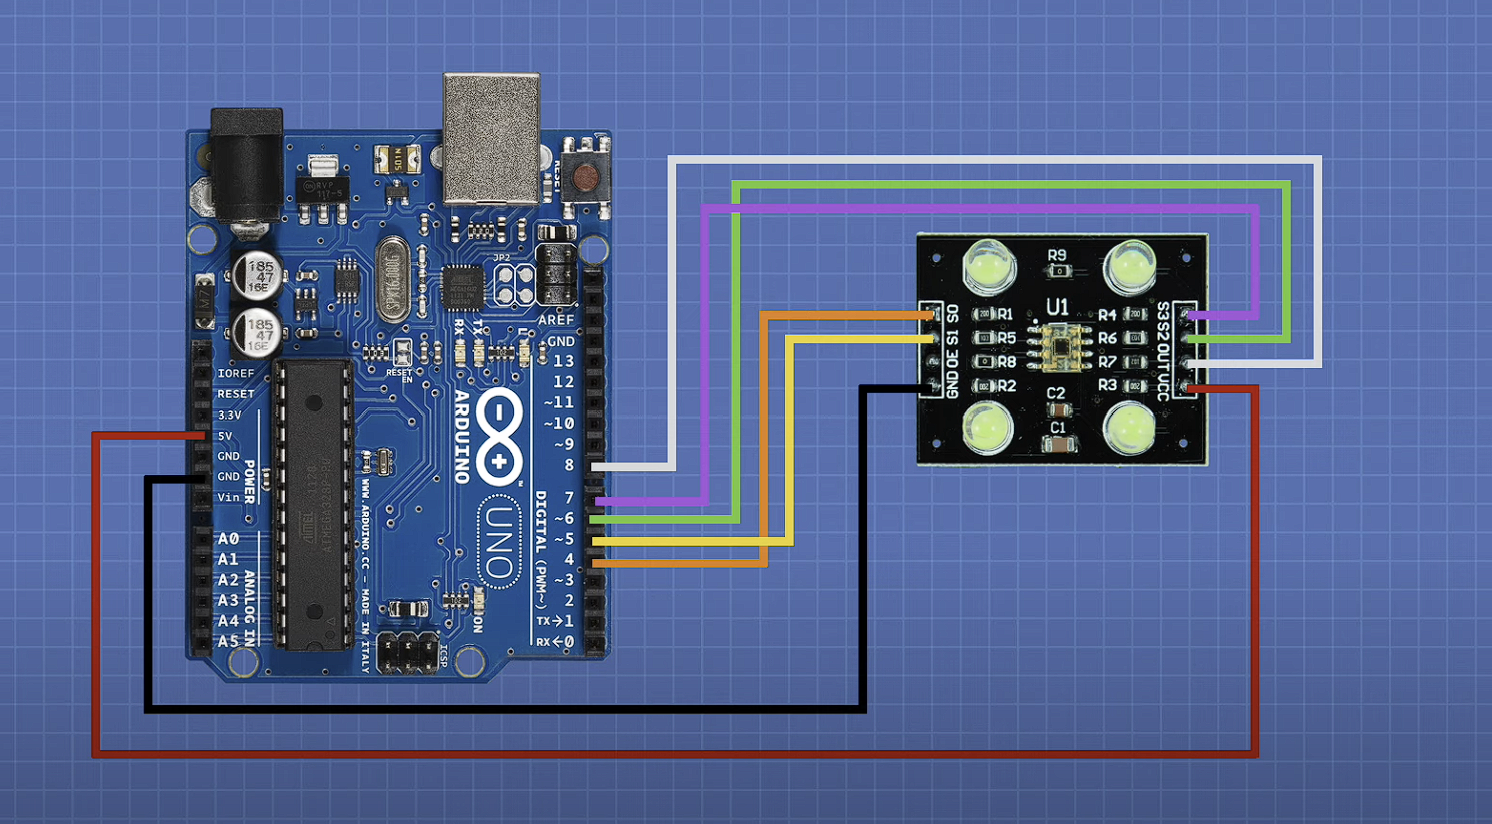
The design incorporates 1.MCU 2.color sensor 3.rgb LED

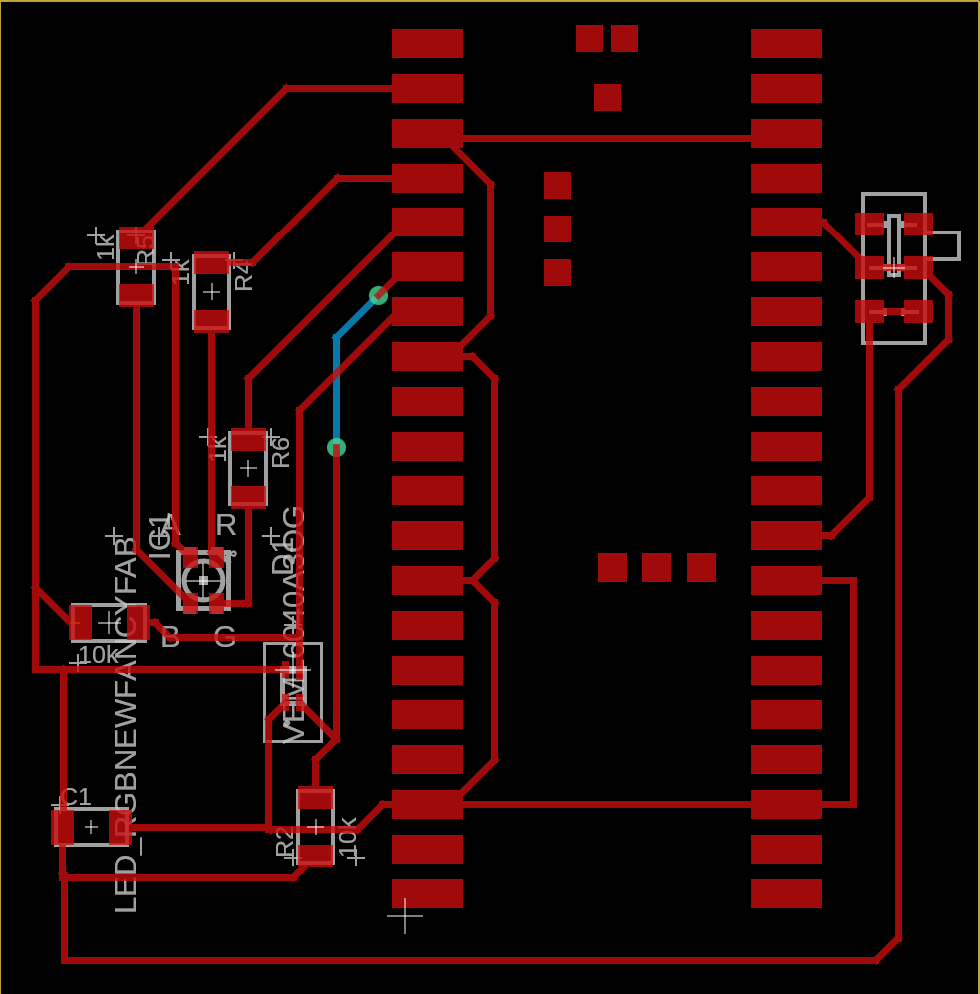 For the iteration, the goal is to minimize function and board size to focus the main function: color picking and color fine tuning under different lighting!
Above is my 1st attempt in the wild card, the full circuit is wired properly which is a major breakthrough, as I have not succesfully soldered the four footprints of VEML4060 ever before. Thank you paste syringe. Thank you TA Anthony.
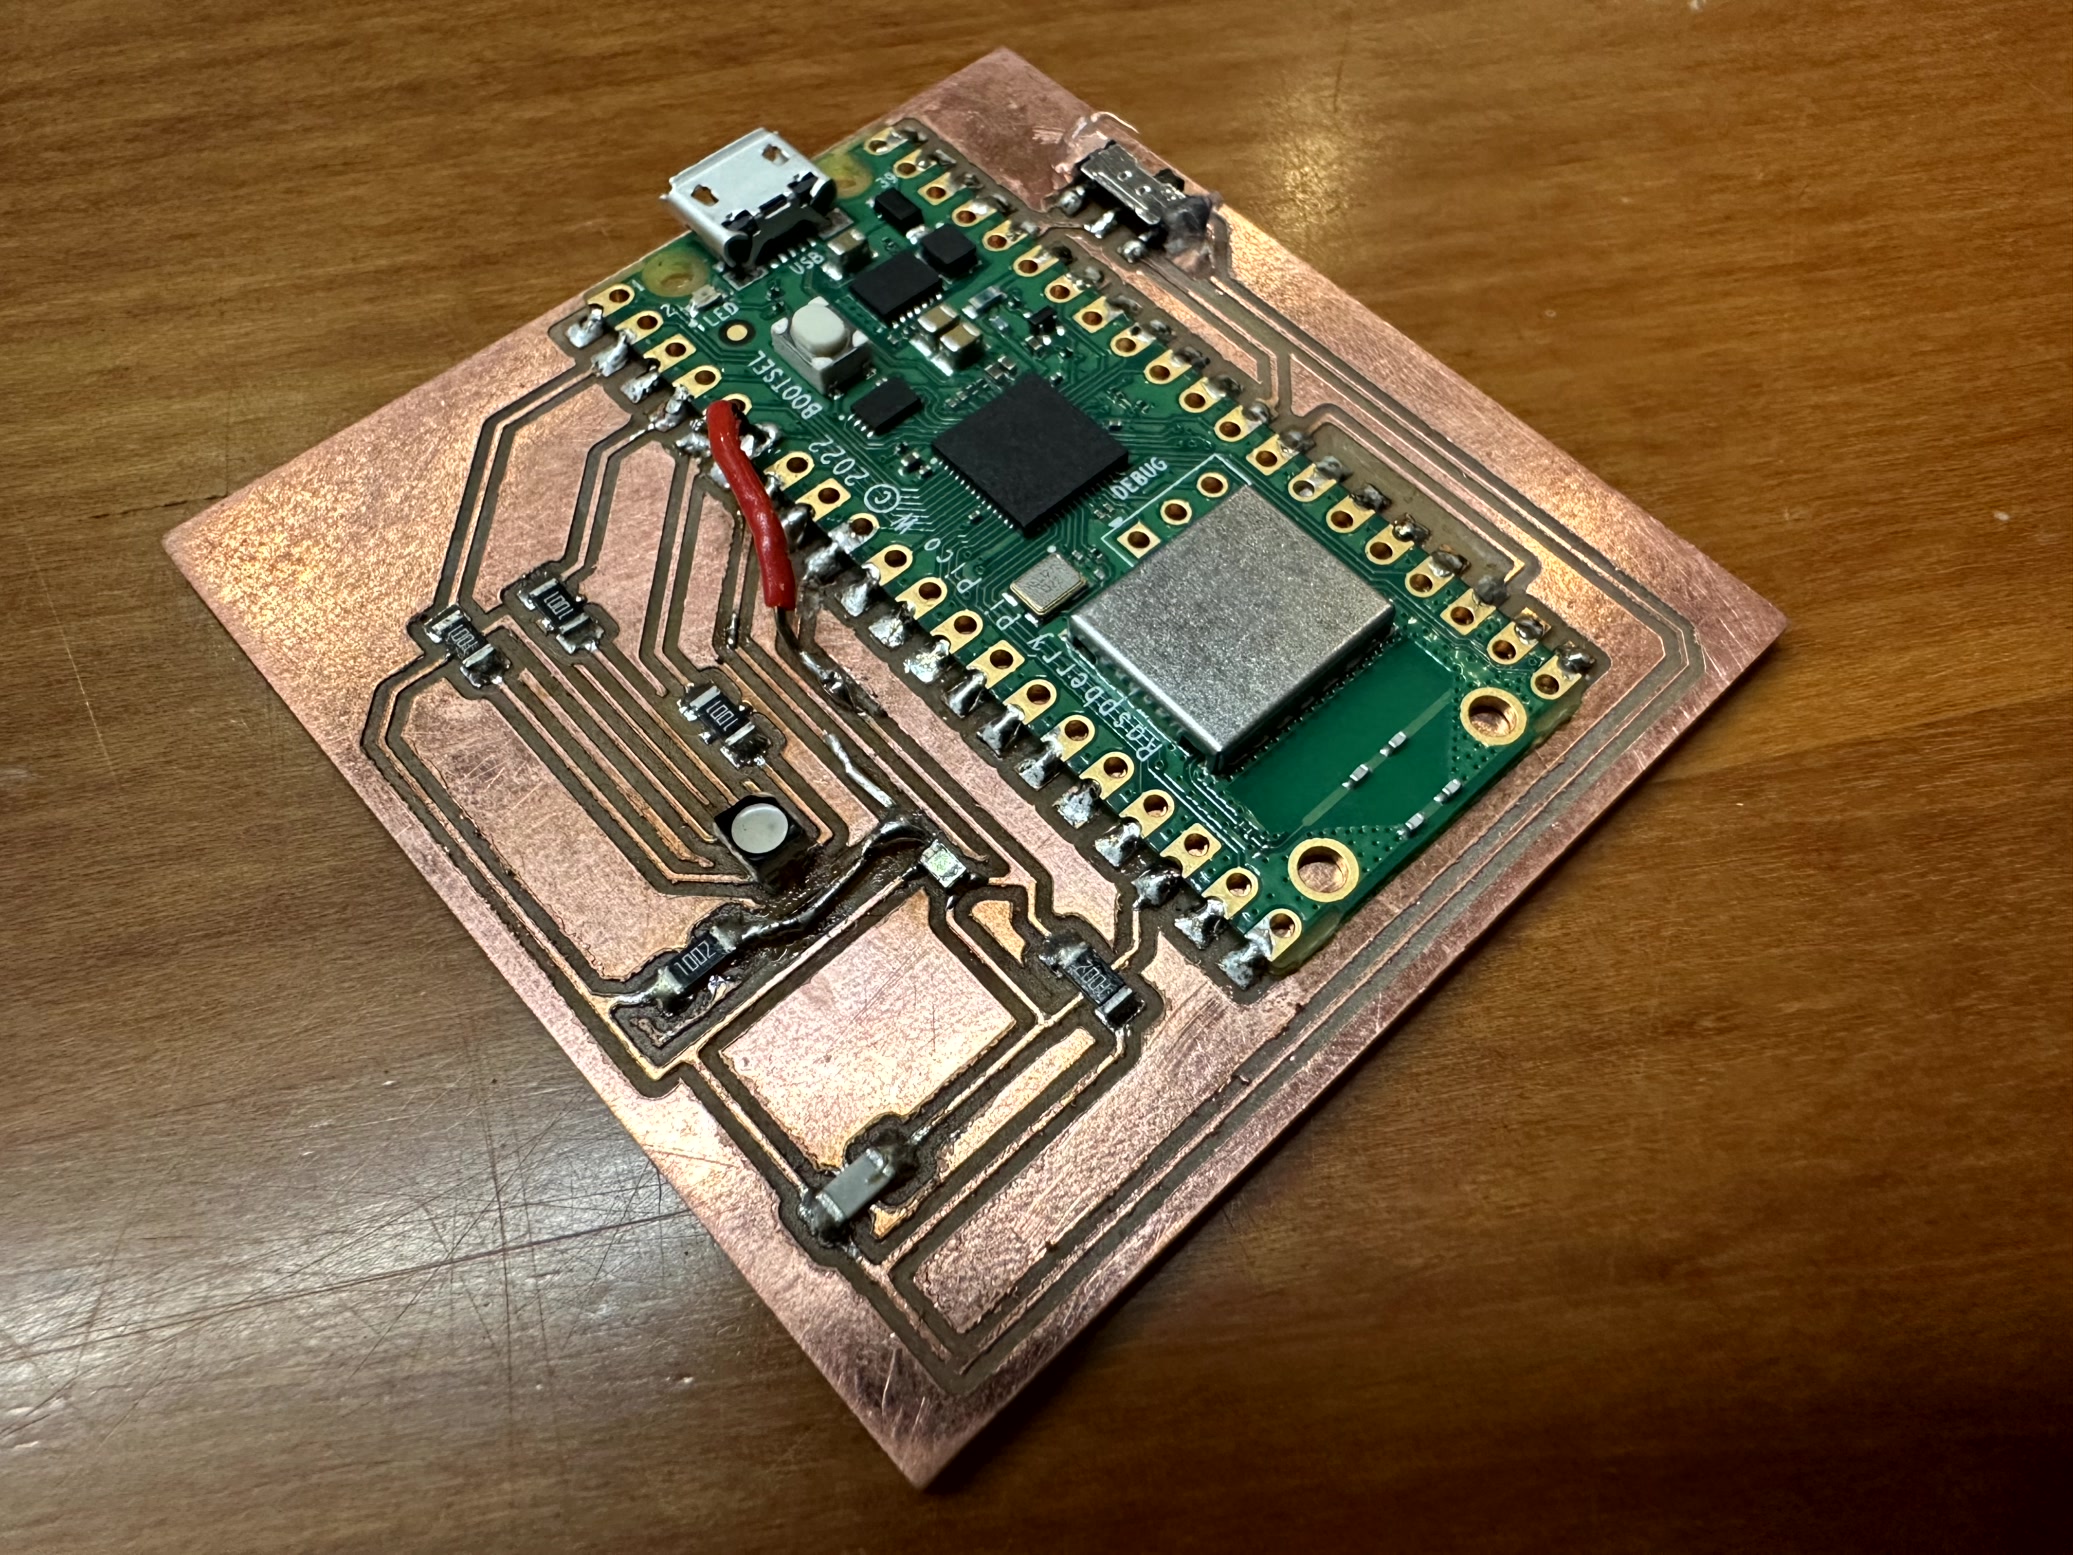 The things I want to adjust for the next iteration: 1>>isolate the color sensing functions onto on independent copper piece and communicate it with mcu; 2>>design the piece as tiny as possible; 3>>programm to color pick from ambient, and maps the VEML6040 properly.
 This is NOT how you do it - but I used the original pcb design as a sketch practice for how I might separate the commponents physically.
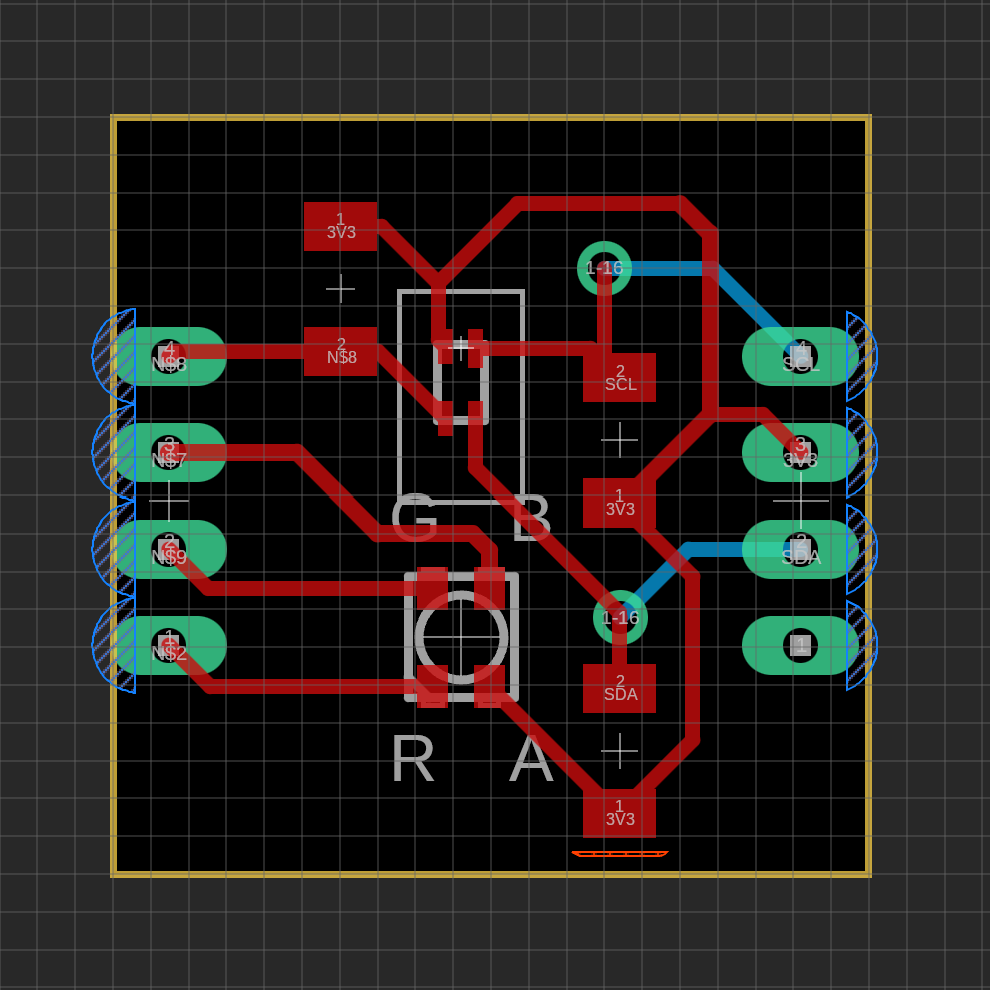
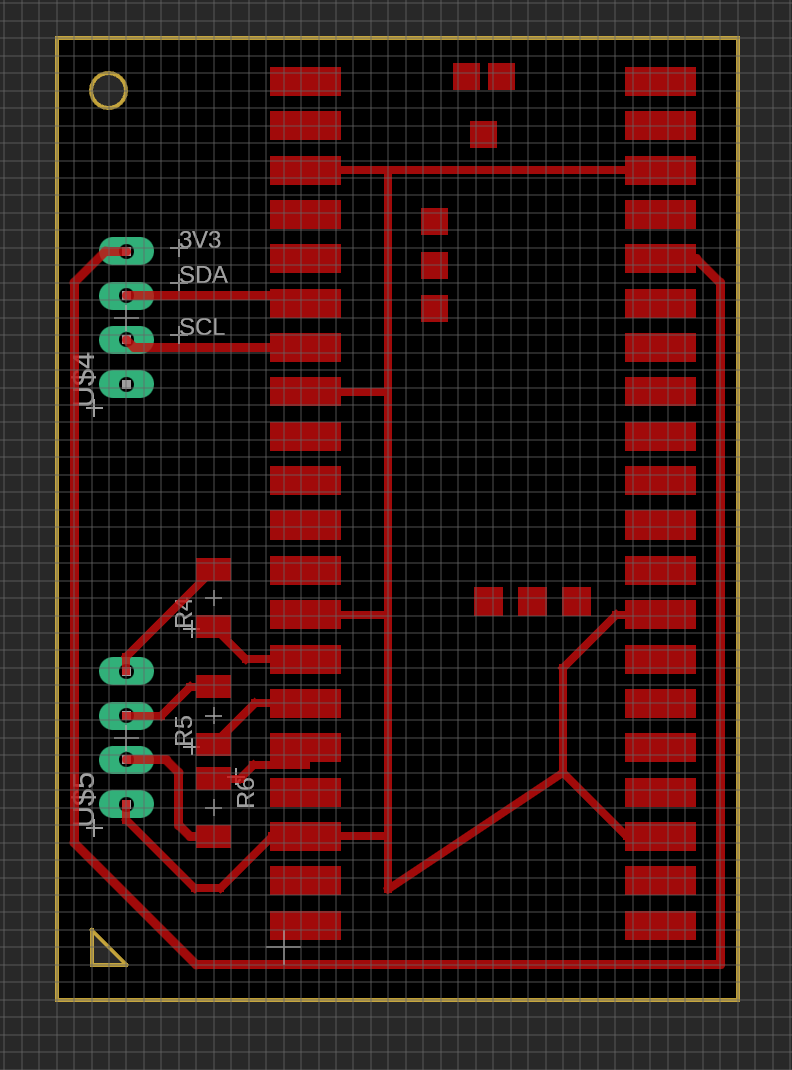 Adding connecters' footprints allow you to have drill holes and footprints with in-between gaps of 1mm*1mm; which can be later soldered with sockets/component legs.The capacitor and resistors have to stay close to rgb led, which then illuminates the color picking area. So those are the picks for a minimized sensor head. The rest go to mcu board.
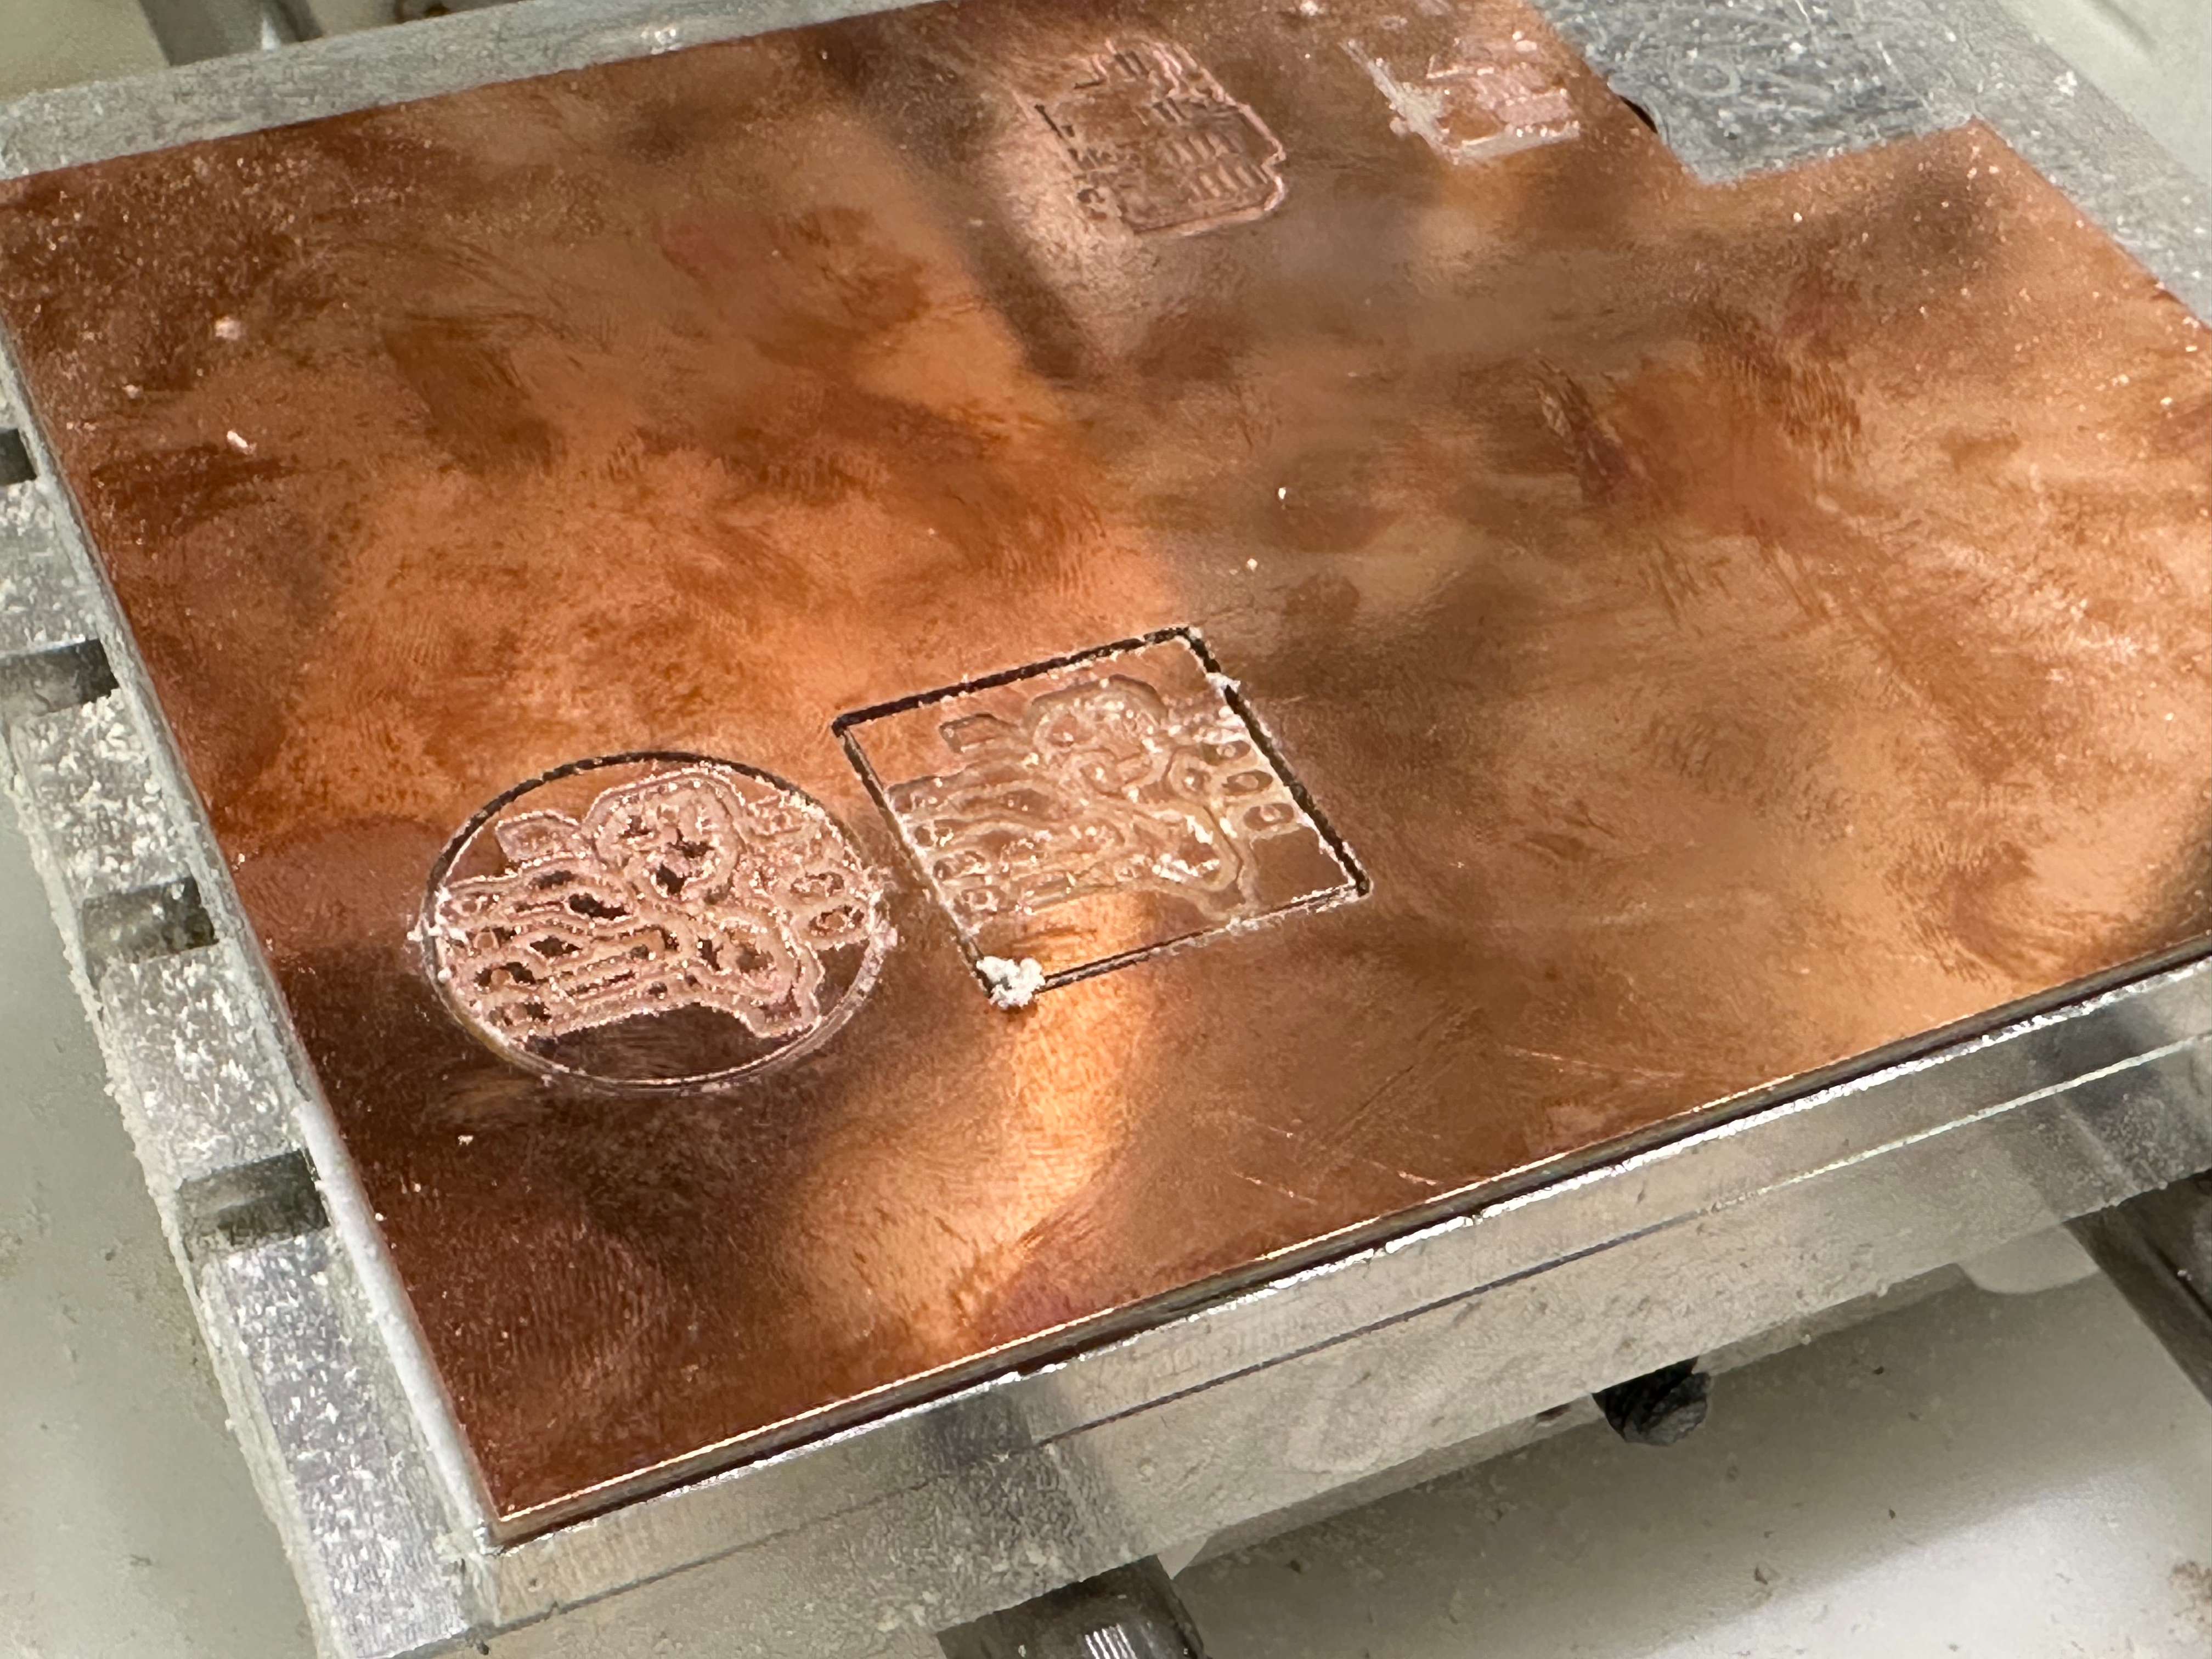
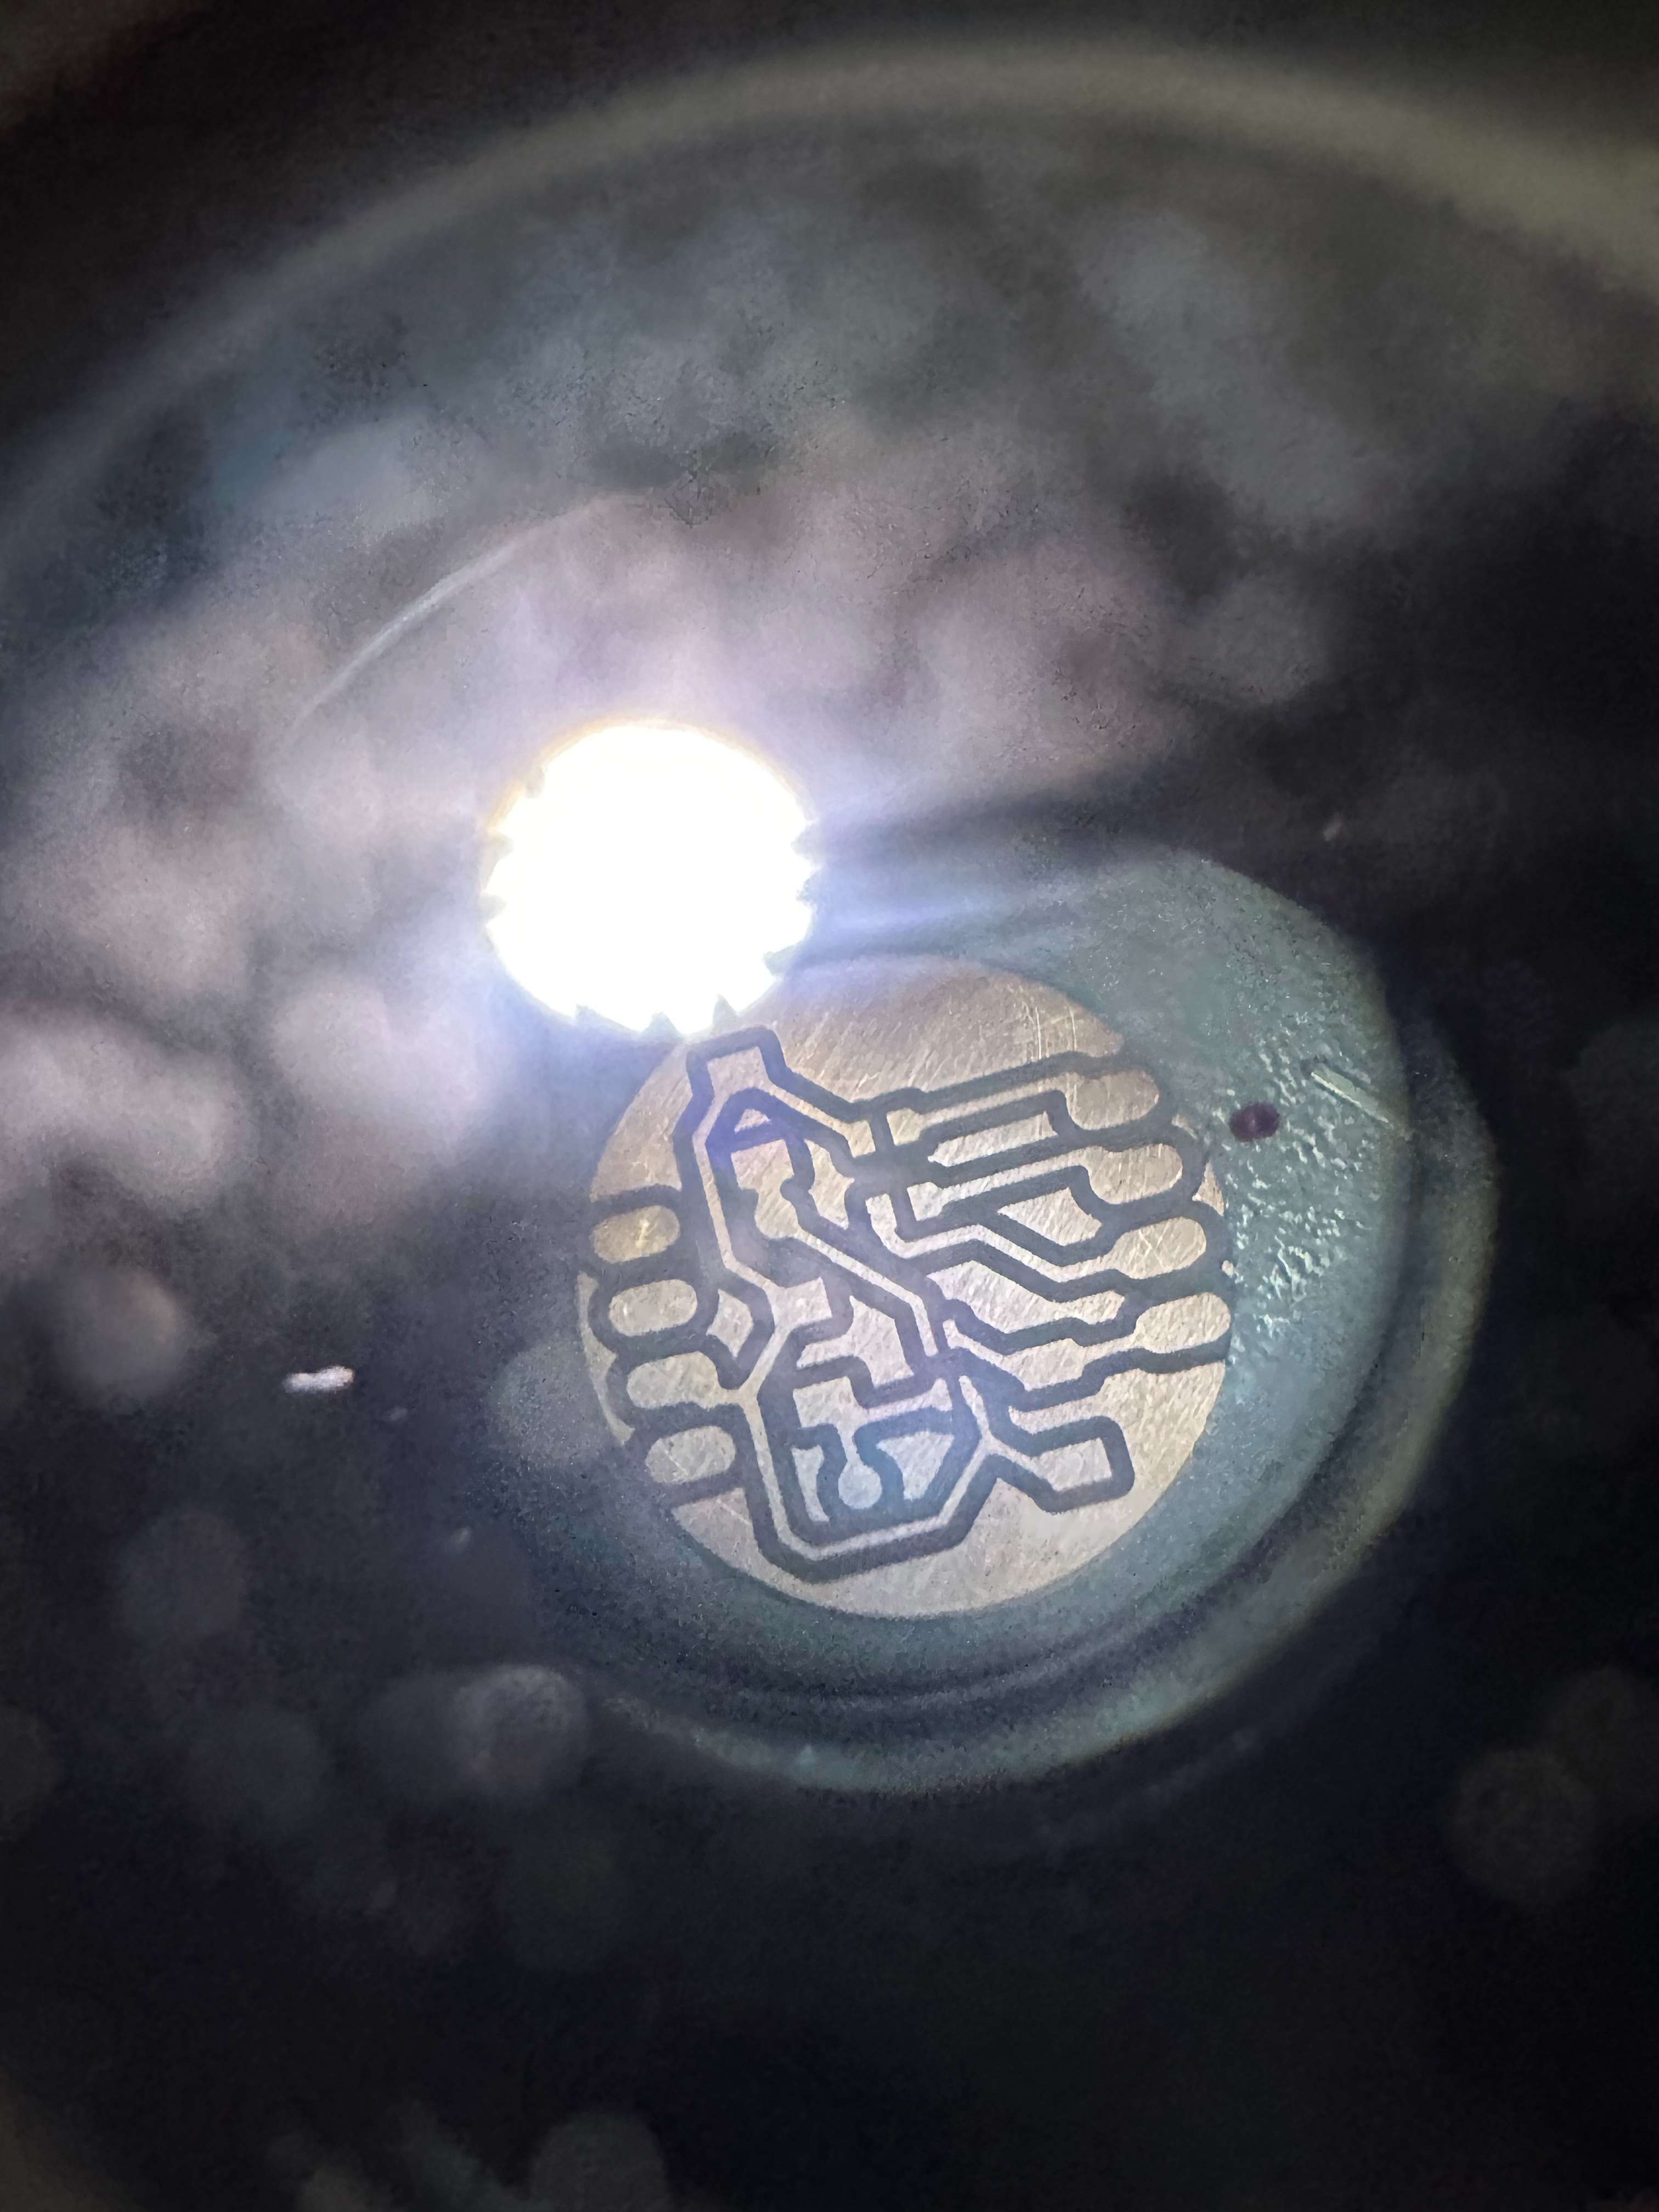 Milling and soldering the board is always the fun part - with a compact board like this one, I learnt the fine art of tweezing out copper threads under microscope - which is truly the most soothing, satisfying moment one can ever experience.
With a change of milling bits between PCB conservative 1/32 (default) and the finer 1/64 falt millend for details, the crafting of one board takes precisely 4 minutes and half. Time well spent. (Though depending on the wear conditions of milling bits, the thin traces and vias might not survive...which happens 2/3 attempts I made.)
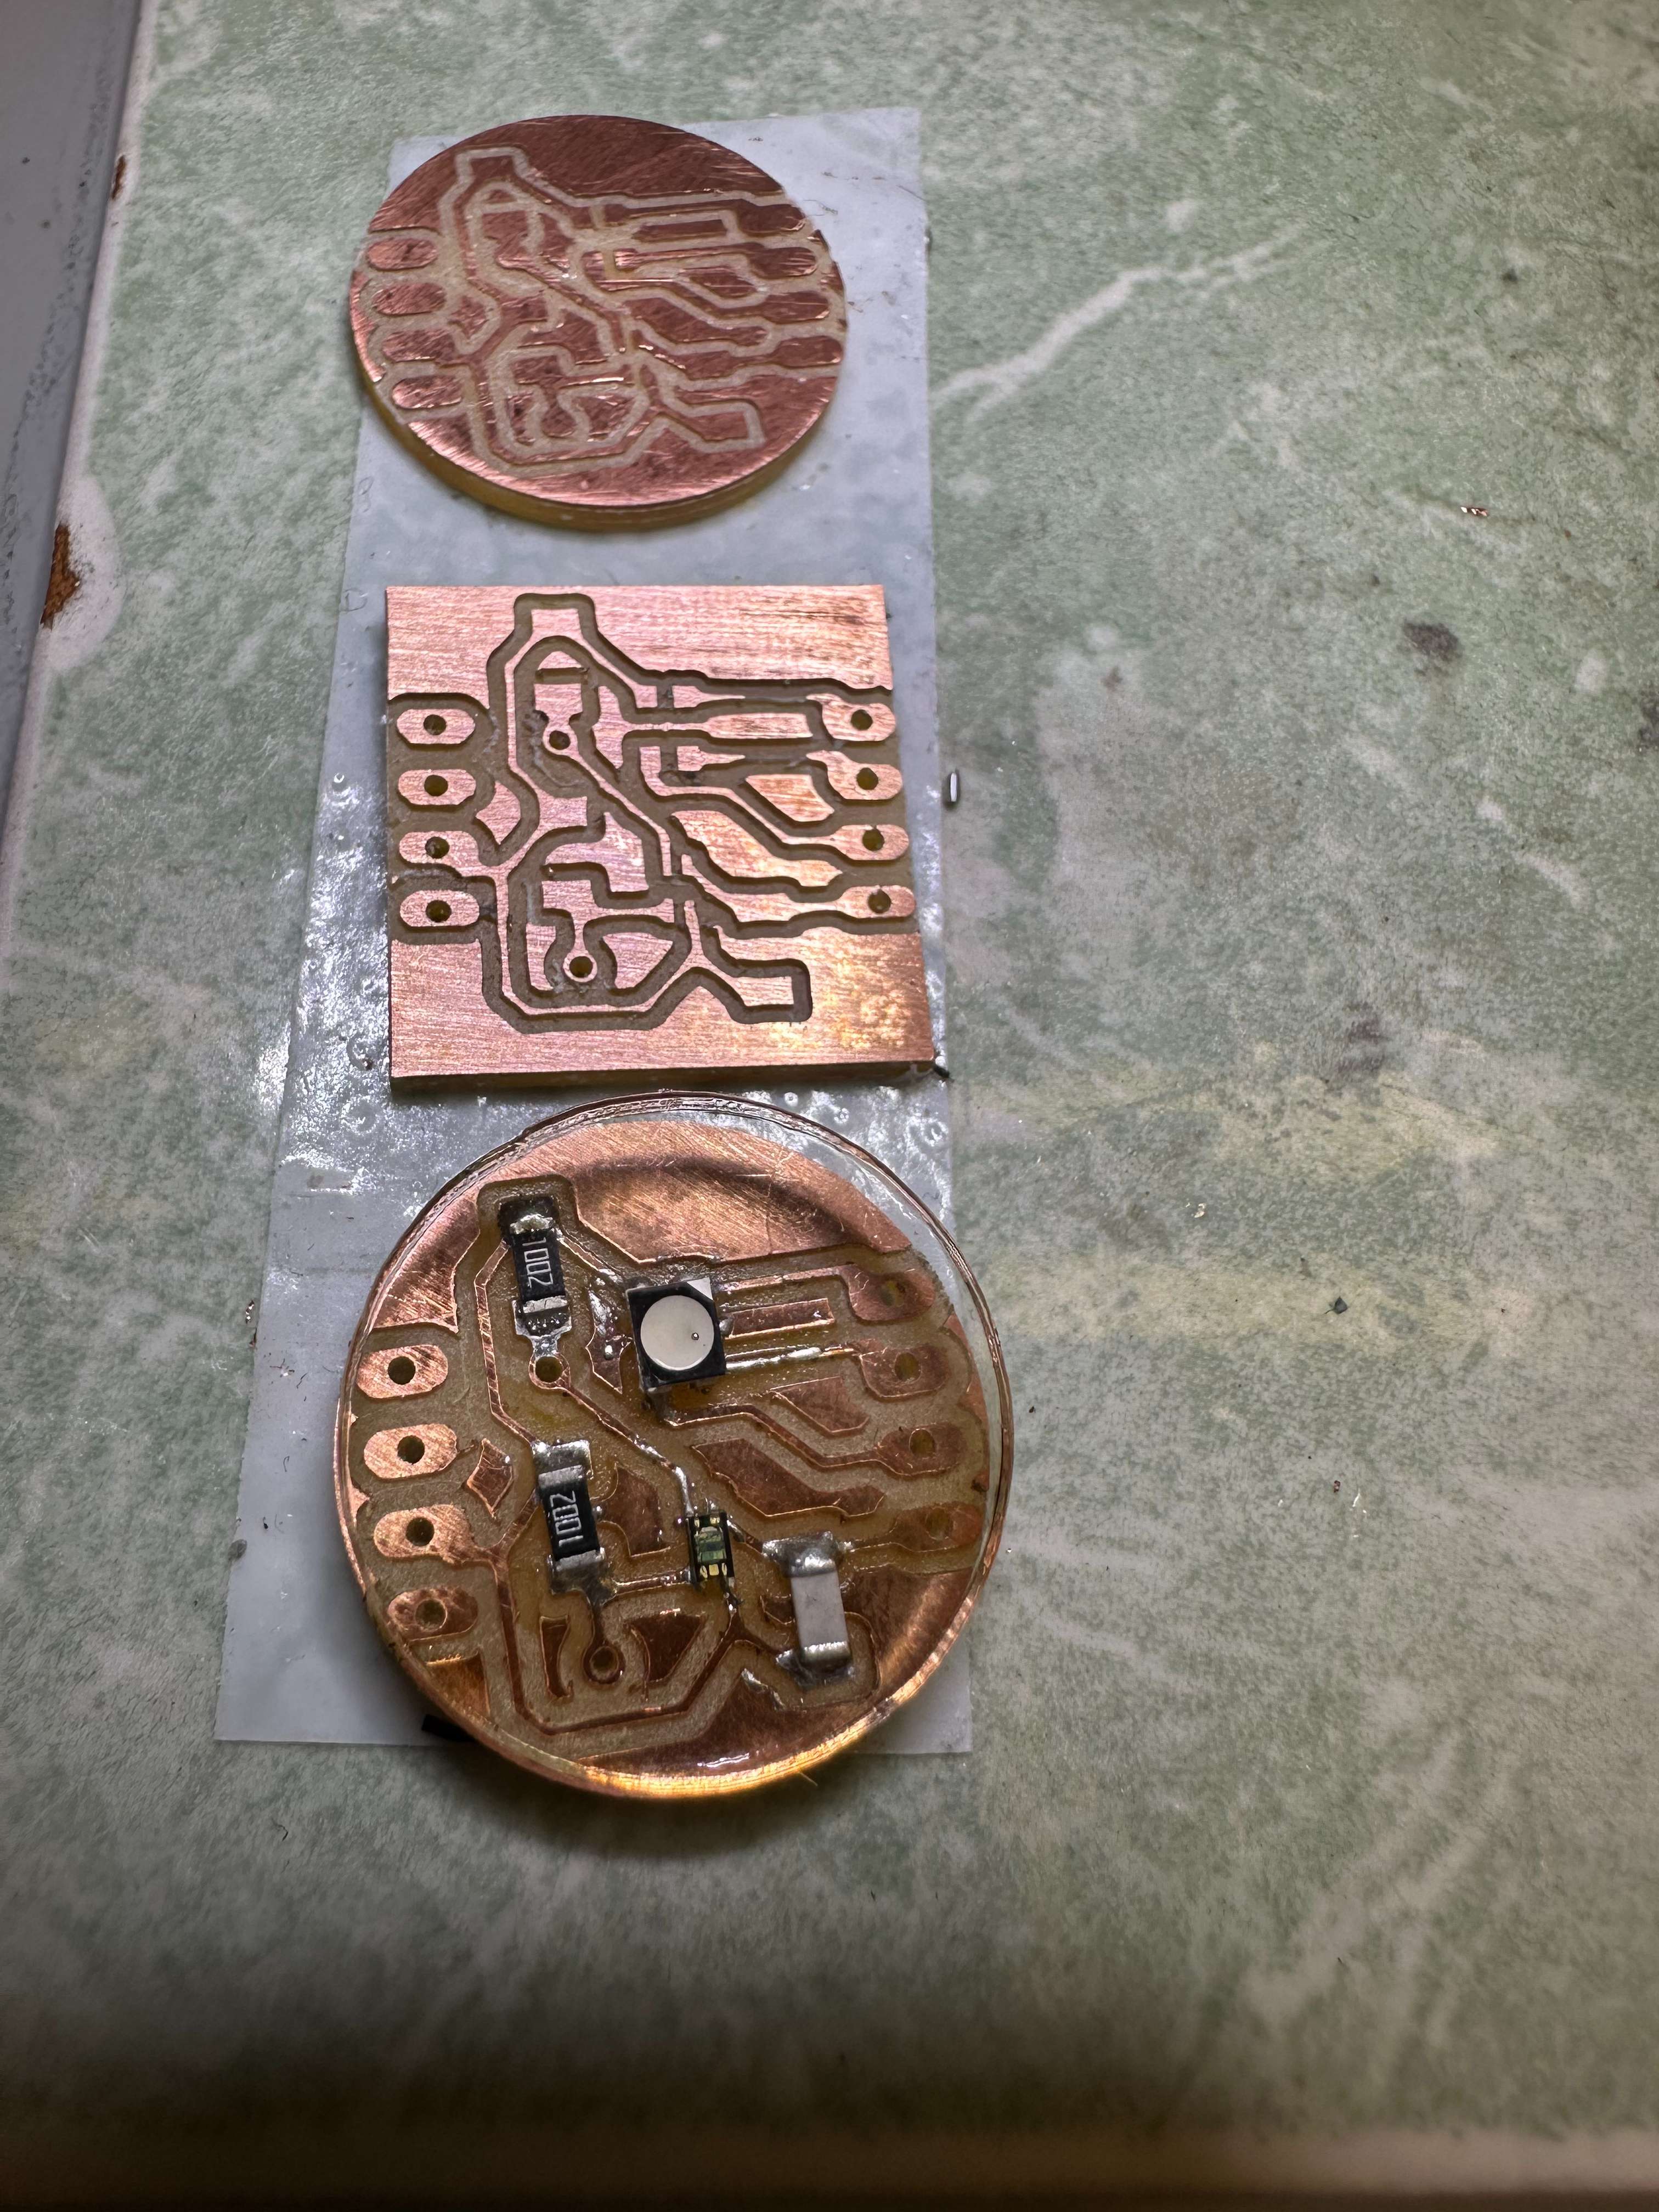 Cherish the lower piece for one second, for it will not appear as clean as repeated mounting and demounting process.
The edges and sometimes components are over-baked - but they survived.
The lesson is to double check before any irreversible, even reparable process.
The result wear of the board came from me soldering wrong sockets to the dill holes - forgot to check the component compatibility, and they turned out to be too skinny.
another mistake is to glue to insulate the two wires on the back of chip - only to make a huge mess as I forgot to leave room for SDA and SCL connector joints after jumpwires occupy the holes; I had to take the whole chunck of glue off the board.
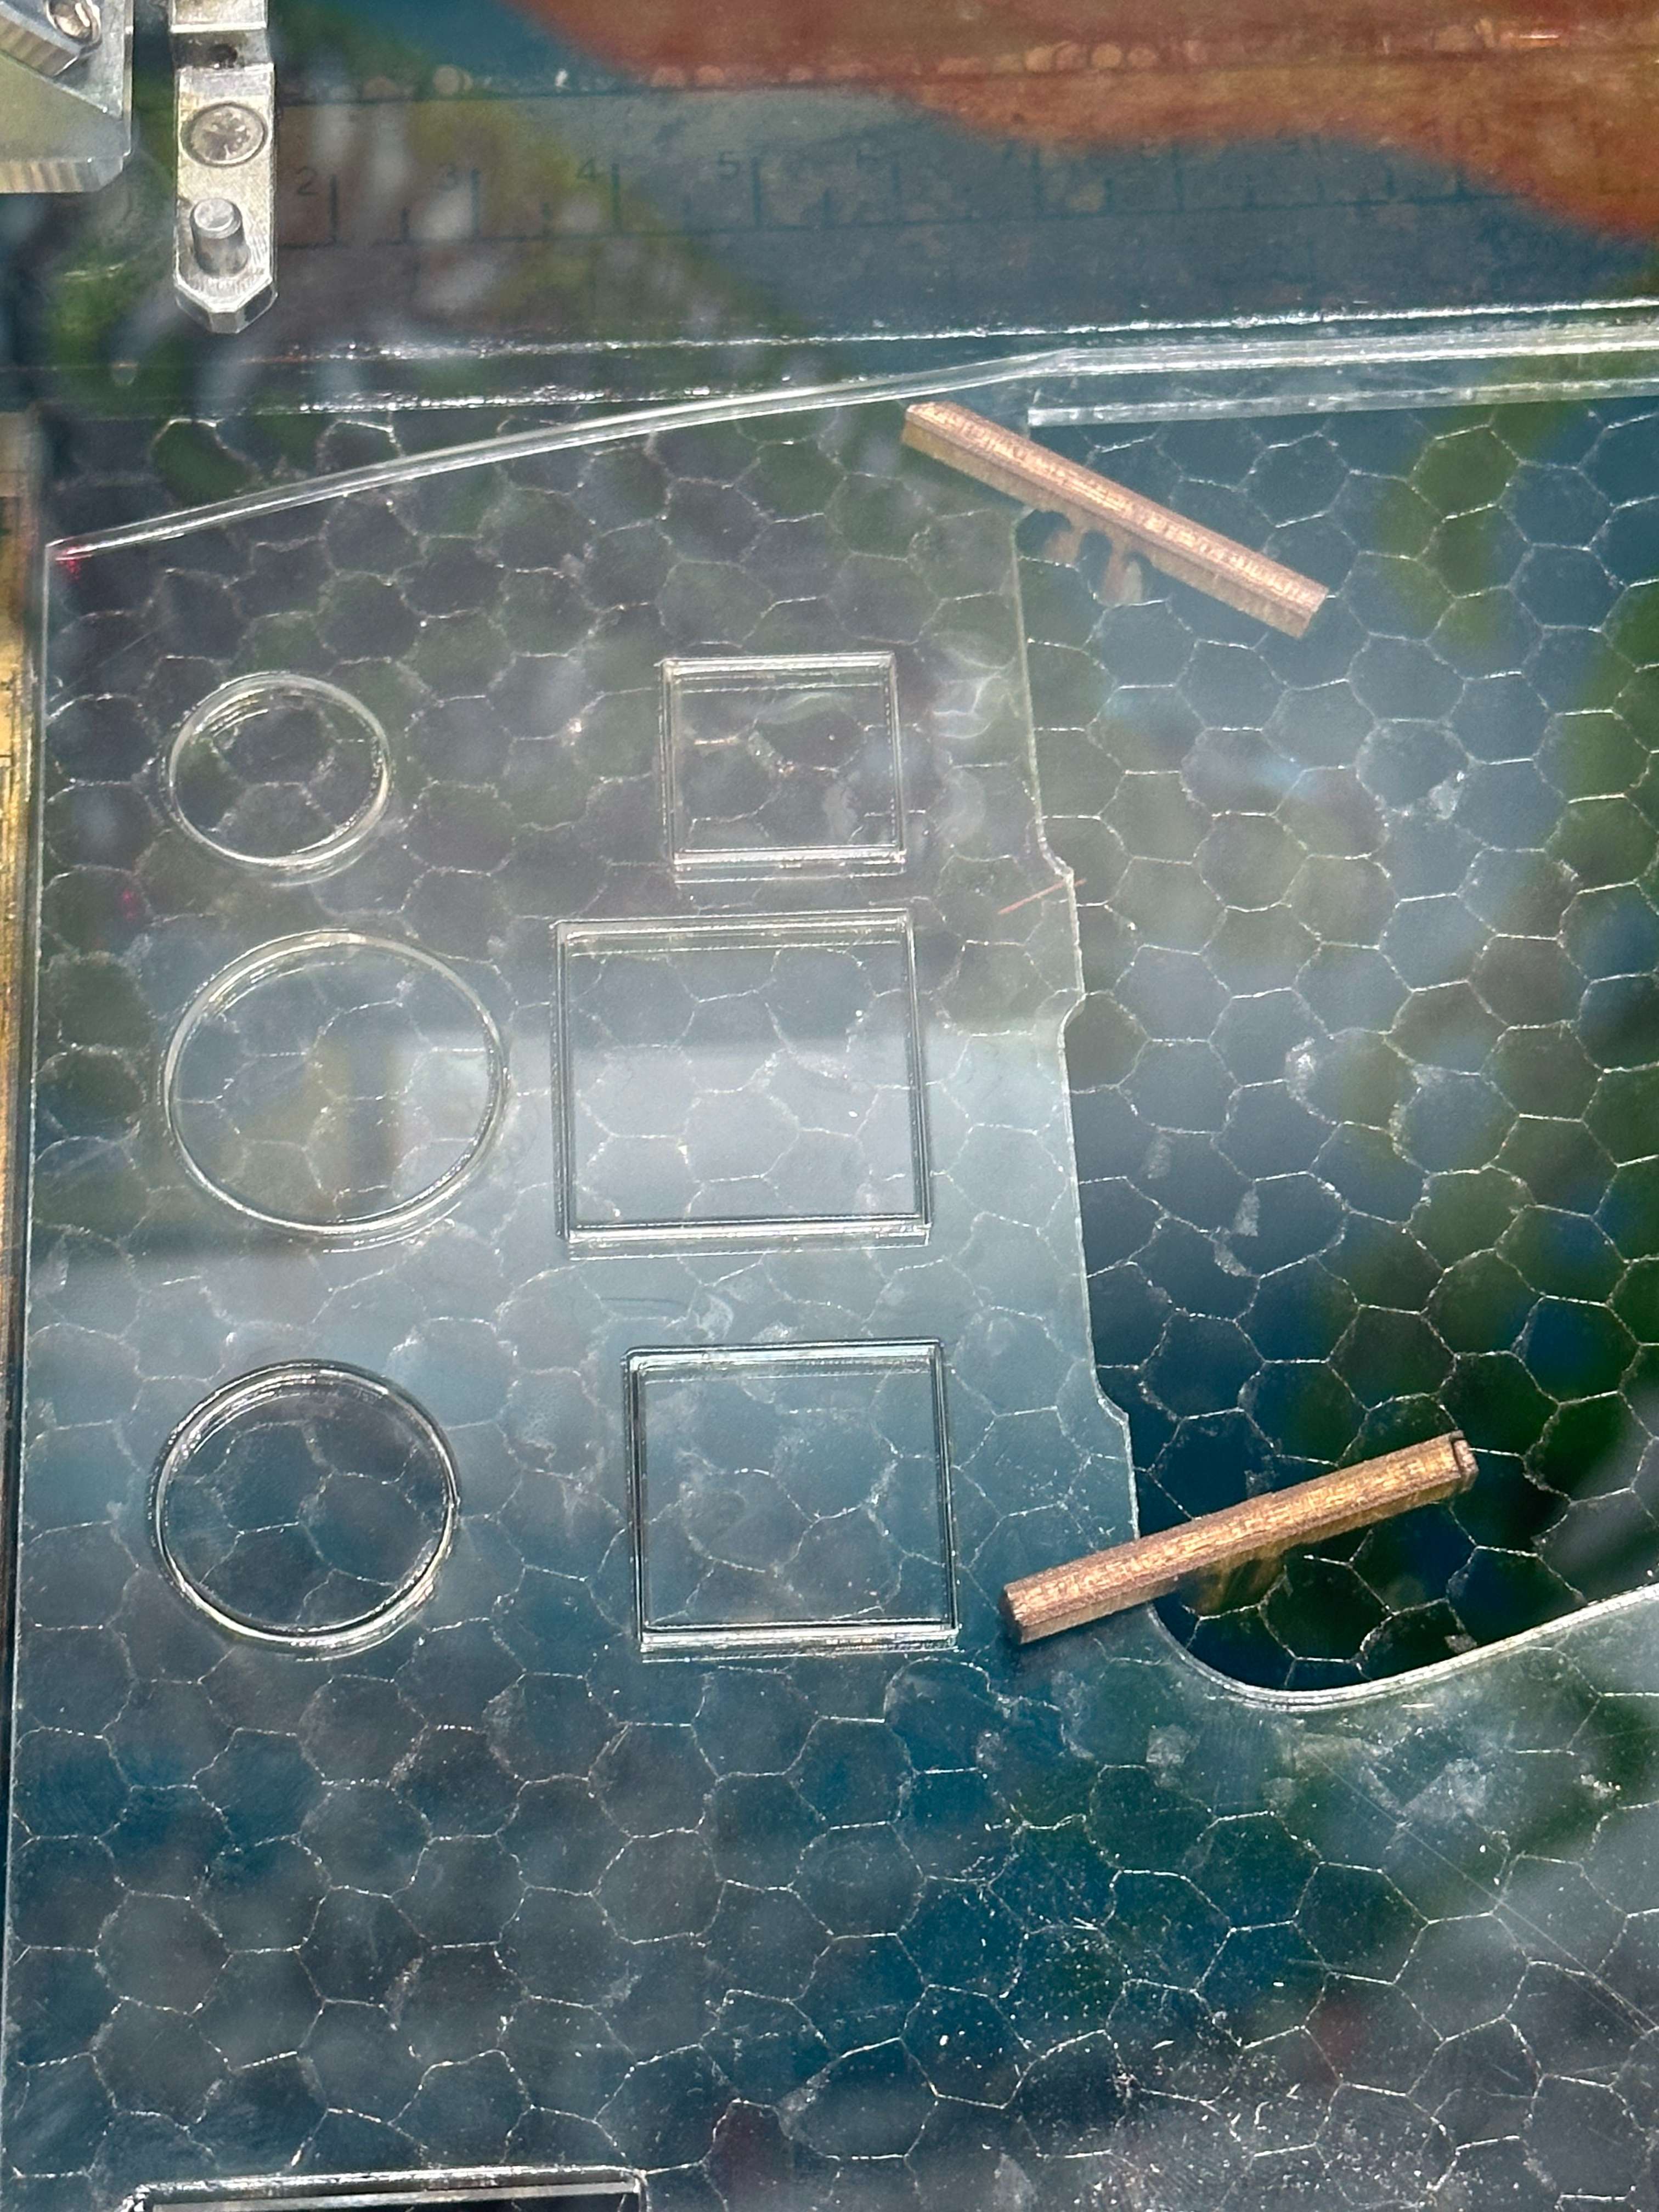
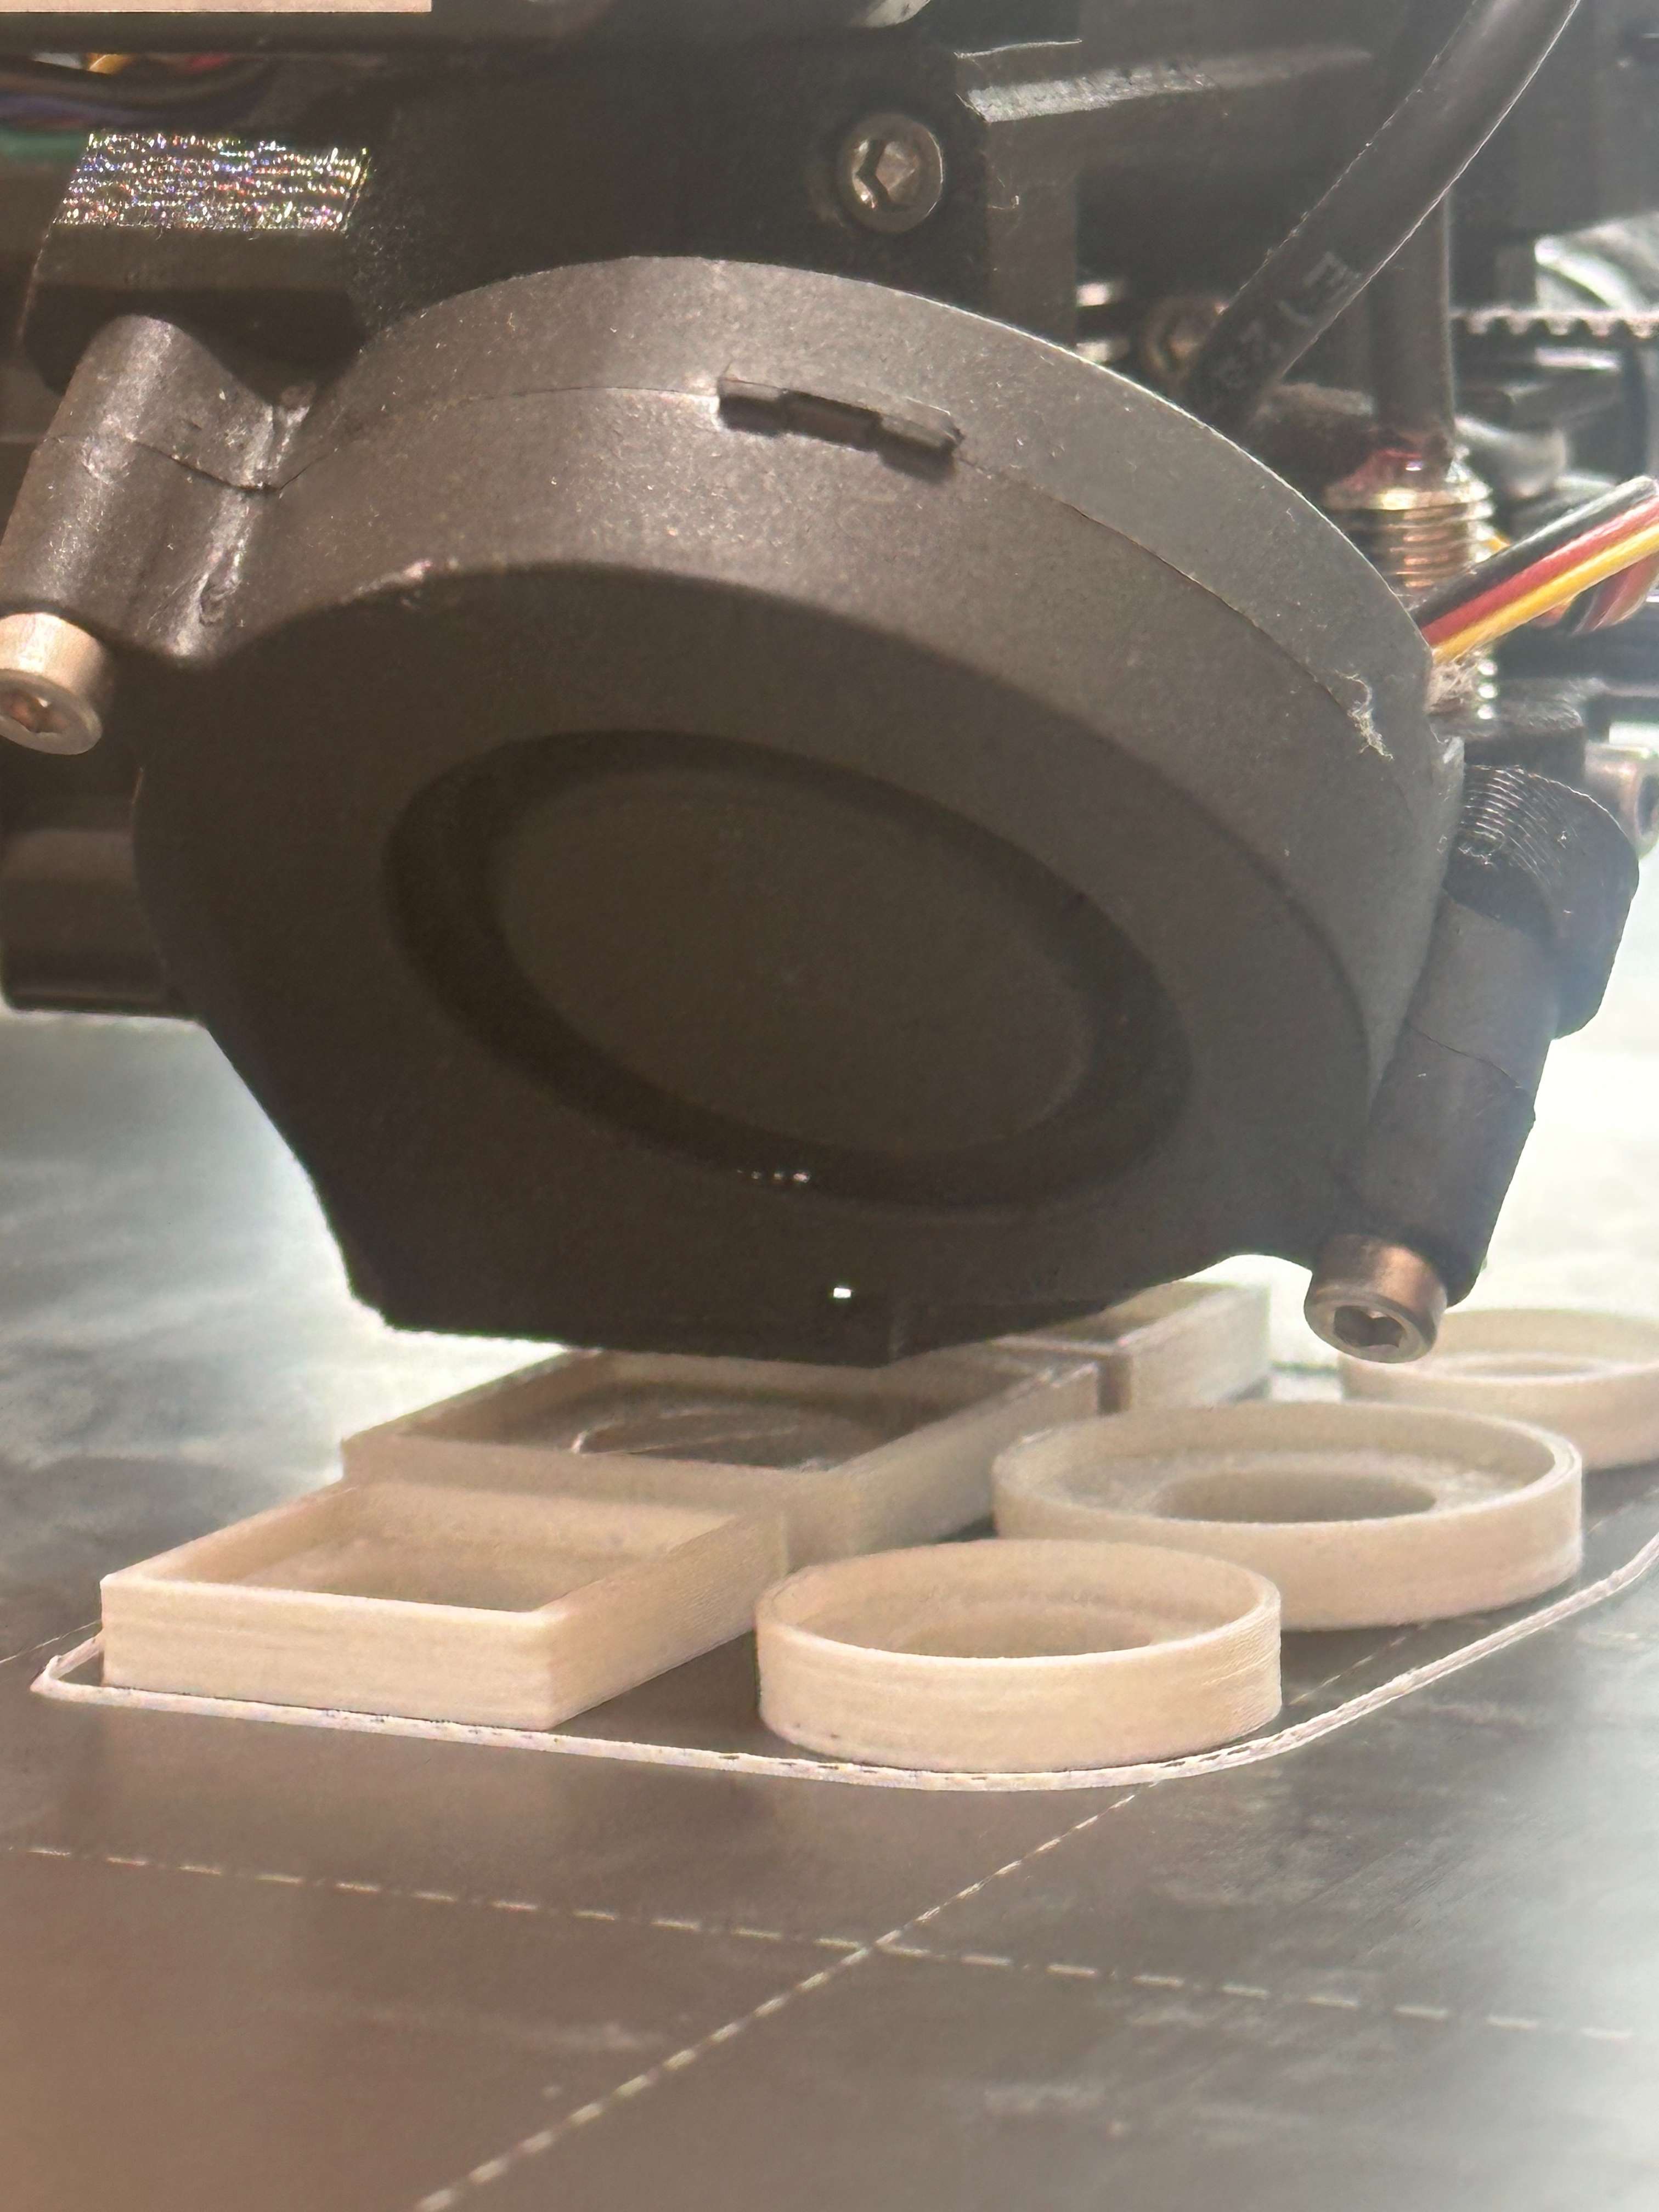 For packaging, I 3d printed the container body to hide the solderwork, and laser cut the acrylic for a cap that could be later added if it works out fine with the optical mechanism of VEML6040.
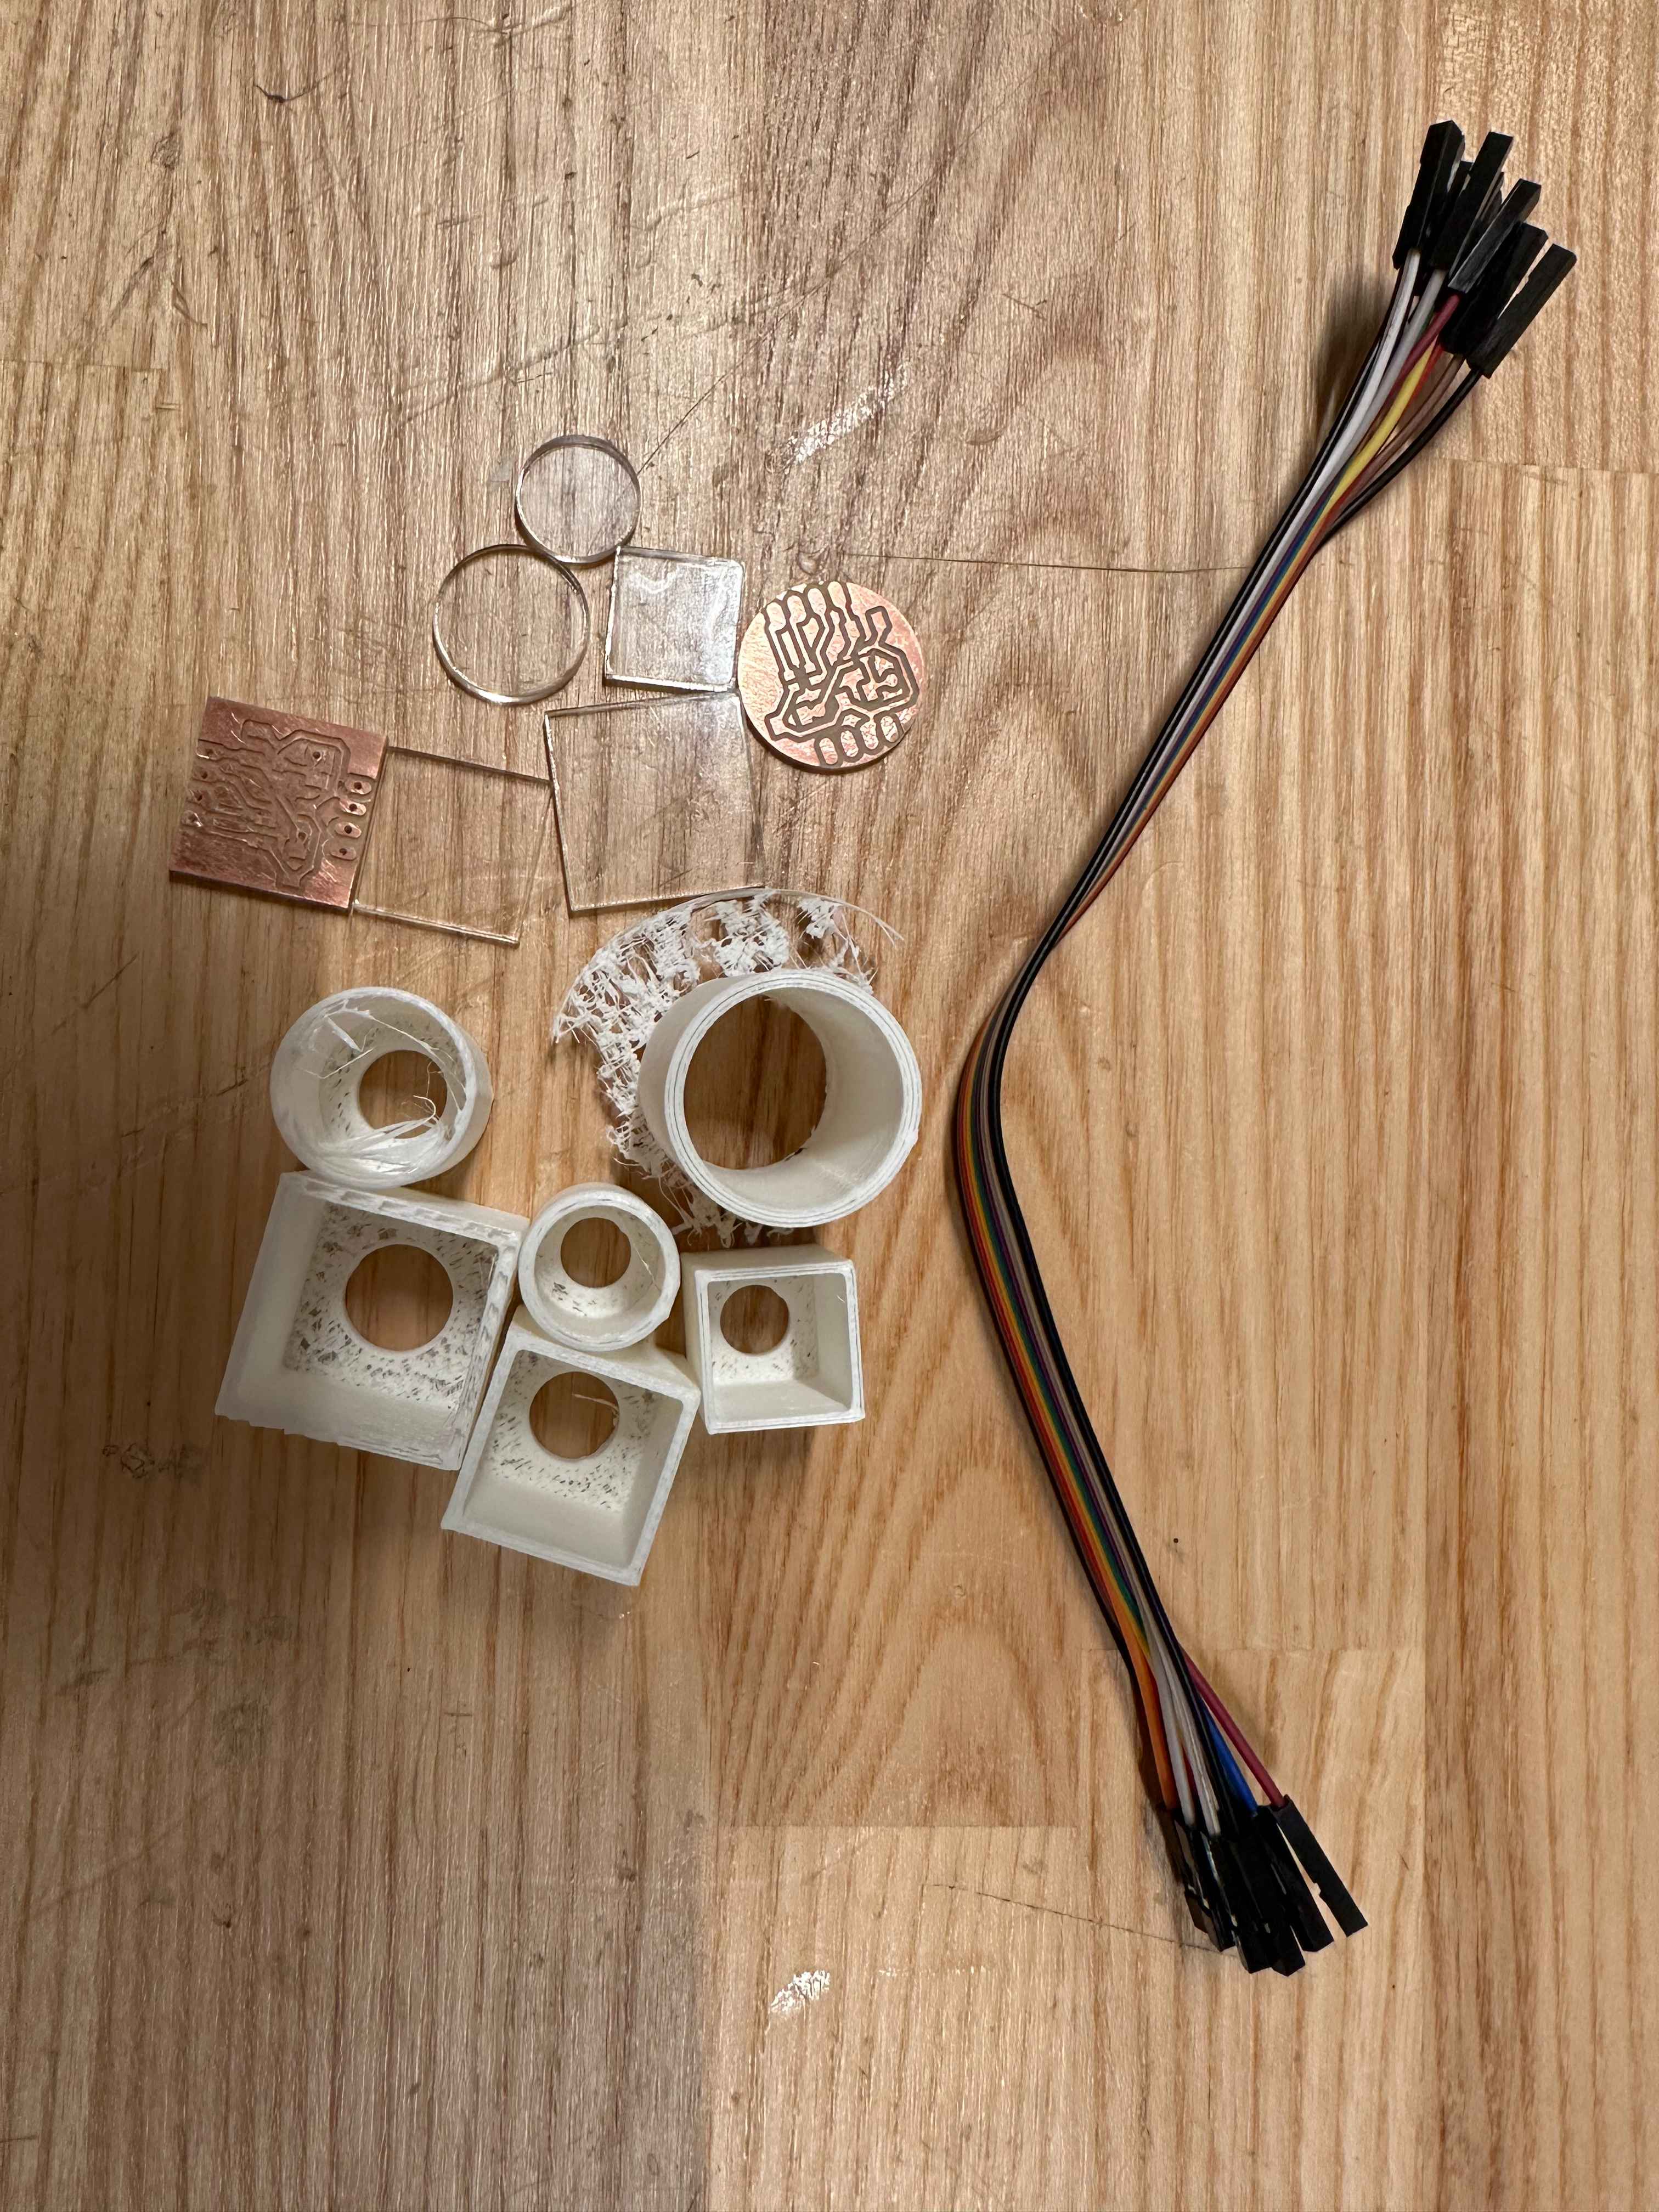
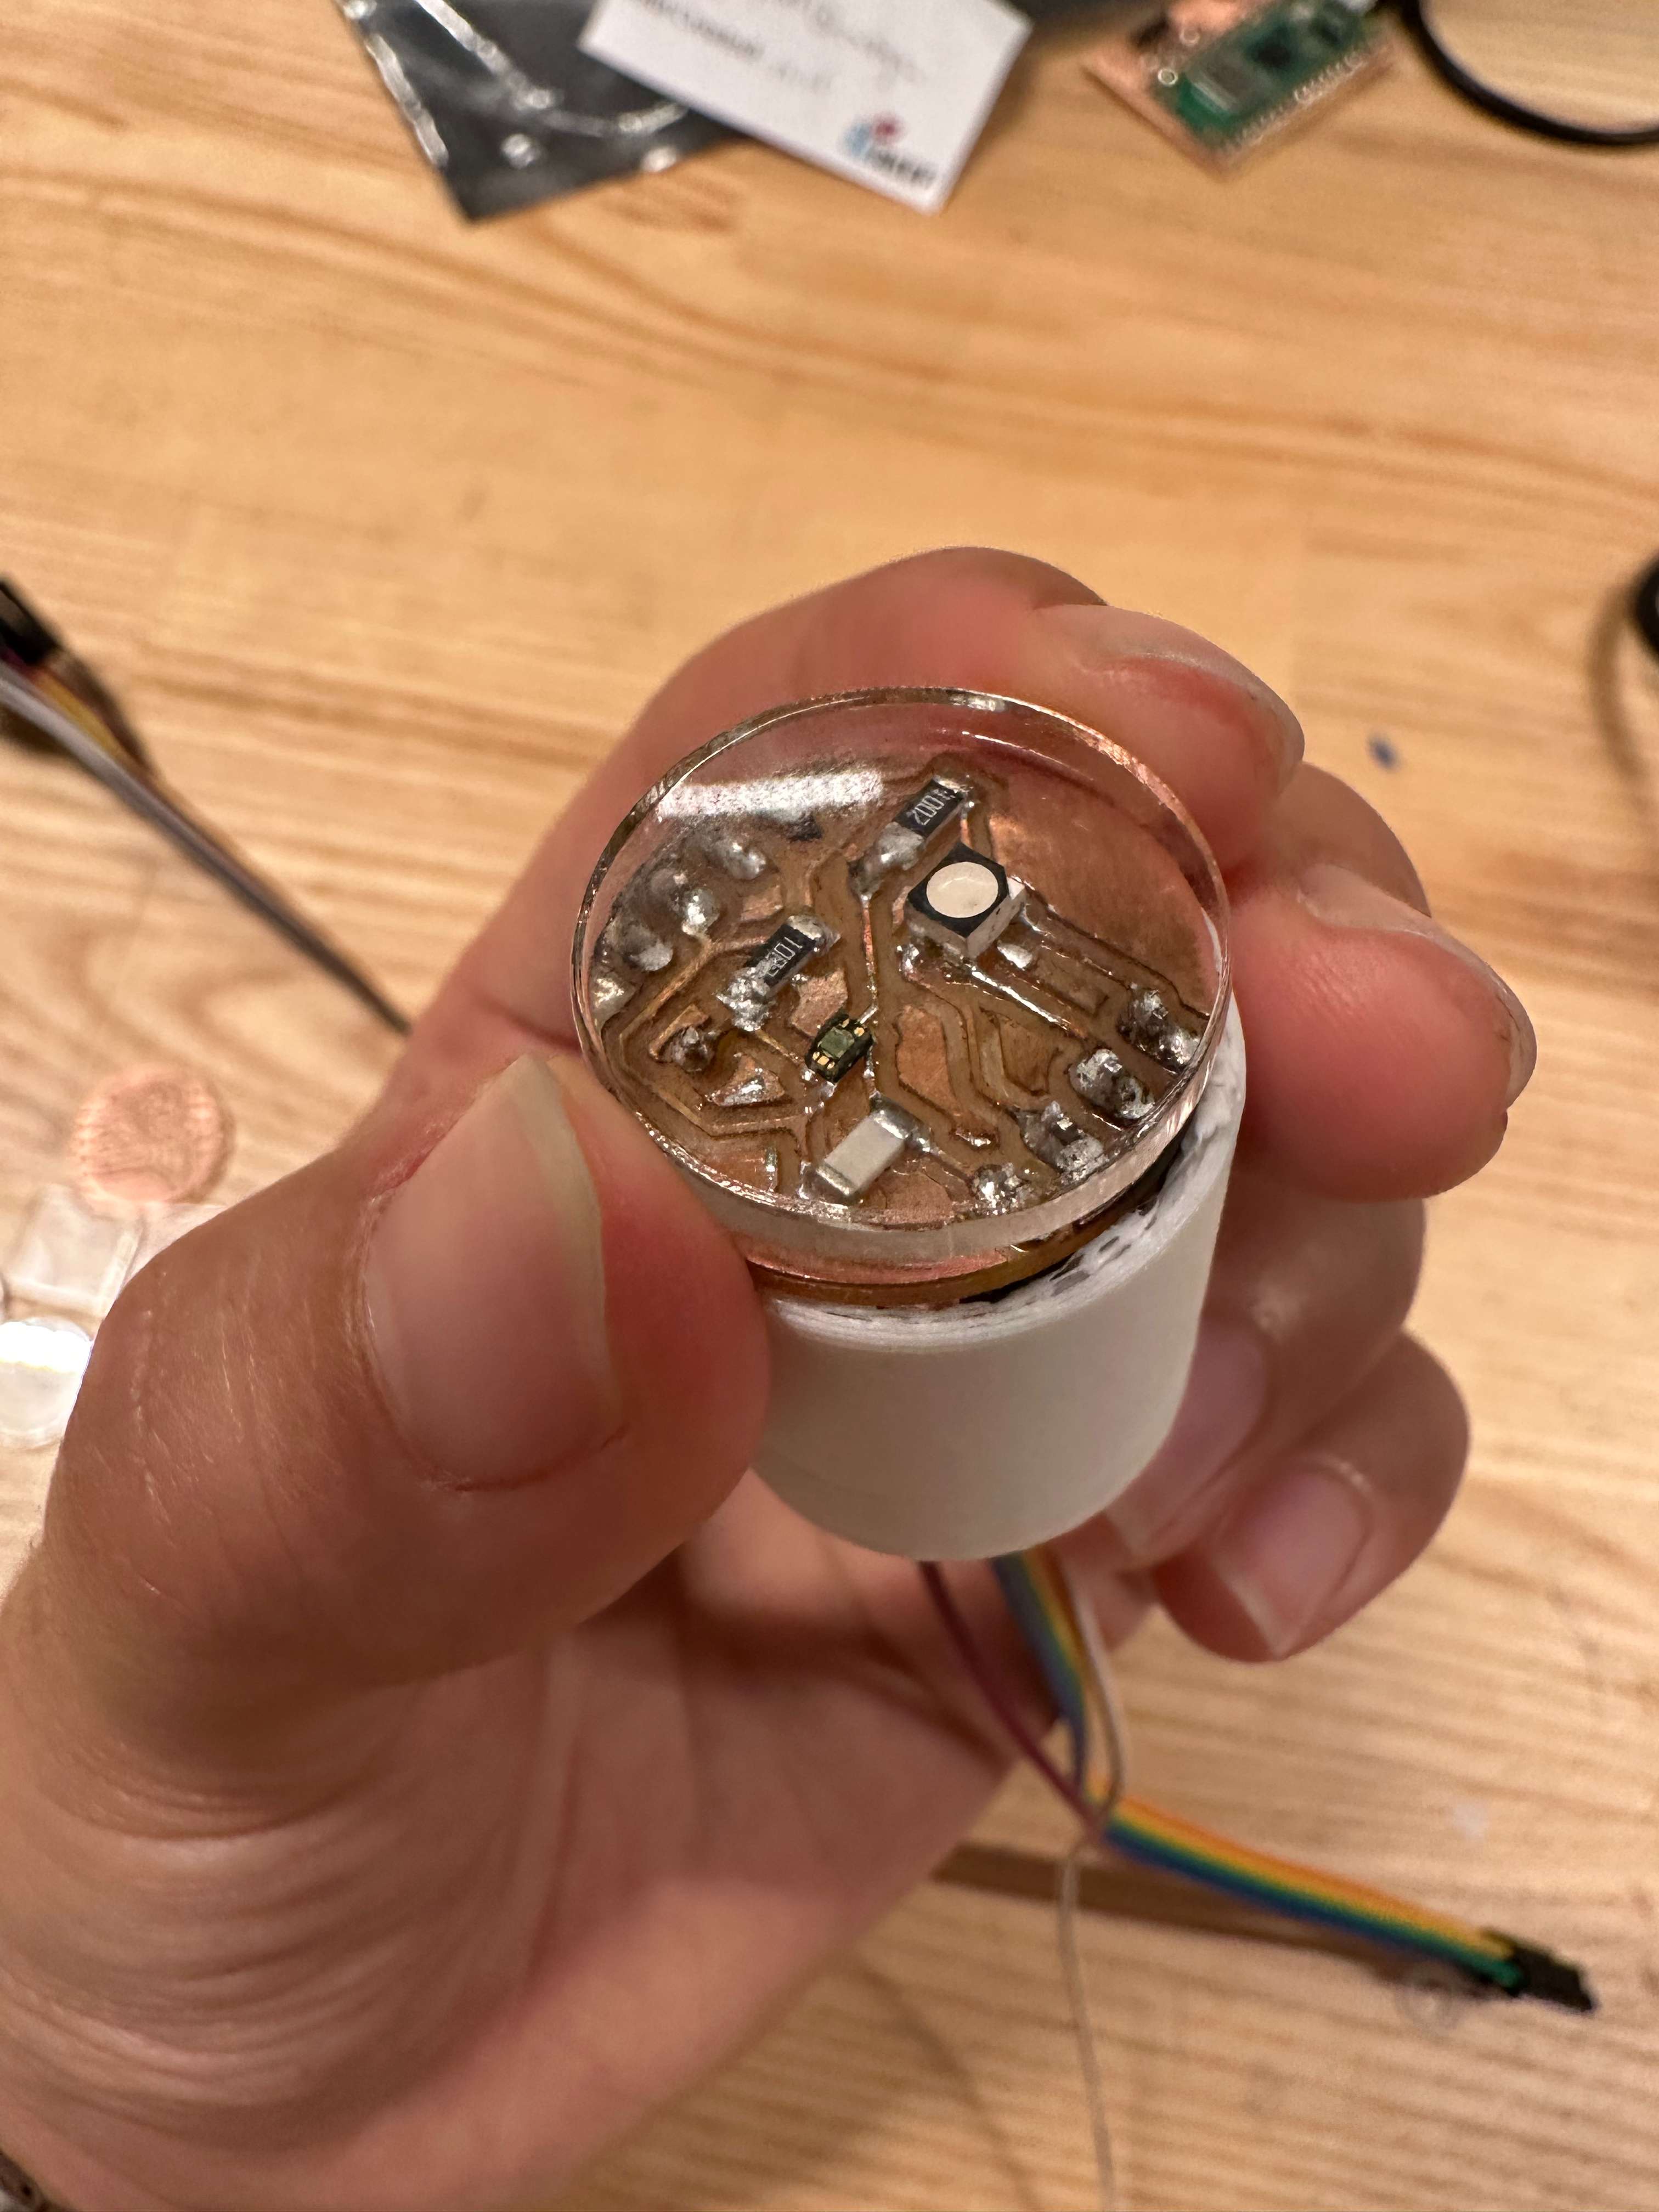
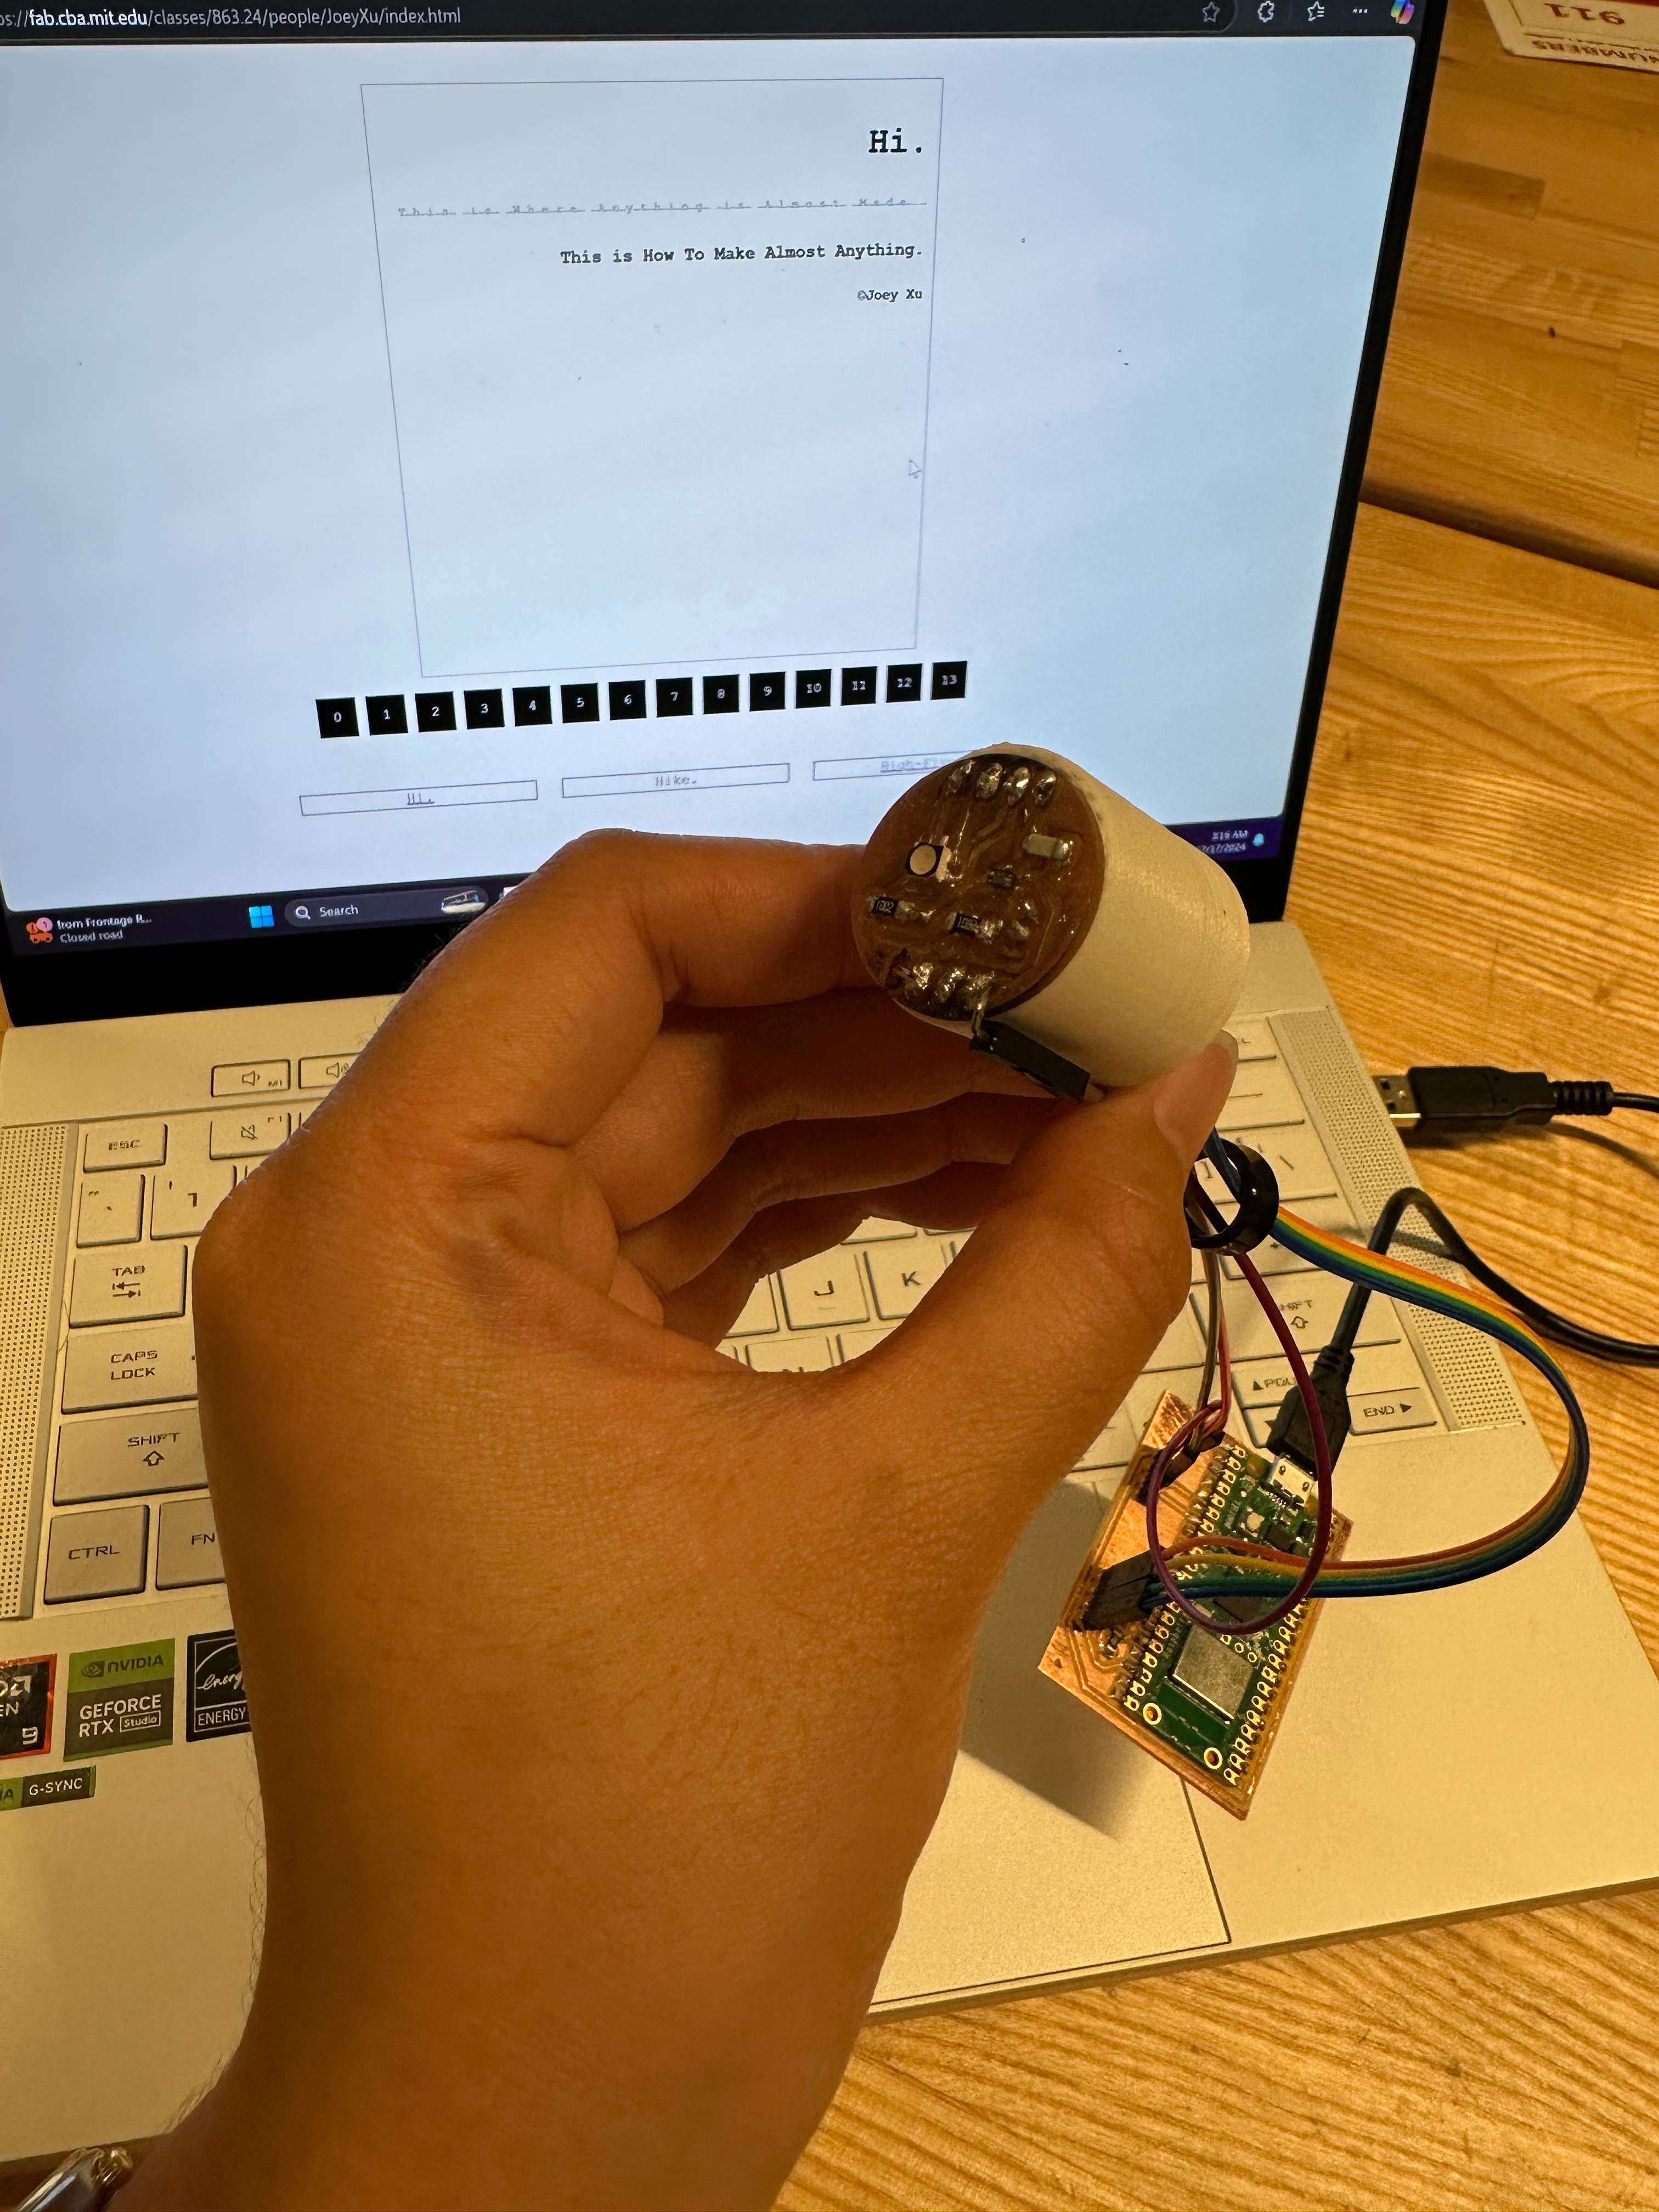 Assembly and here it is! The color picker!
Wait until the end of video where it emits *CRIMSON* (R220, G20, B60)
A few function this simple device can operate; click for Micropython code -
calibrate veml input into normalized rgb data
initiates sensor to reading mode
Many things that be improved upon in next iteration:
>>turn wired communication to wireless; which would ideally involve a double-sided chip with a Xiao on back.
>>Pacakaging need to be visually more integrated while leaving the sensor/led uninteruptted.
>>The reading is not very sensitive to reflective surface, as the led light cannot be diffused very well - moving the sensor closer or away from the surface have a huge impact on the reading. In other words, the rgb data is more affected by brilliance rather than color. This might need some understanding of the optical mechanism. A fixed distance between the surface and the sensor might be worked into the packaging.